Introduction to Melt-in-Your-Mouth Cake
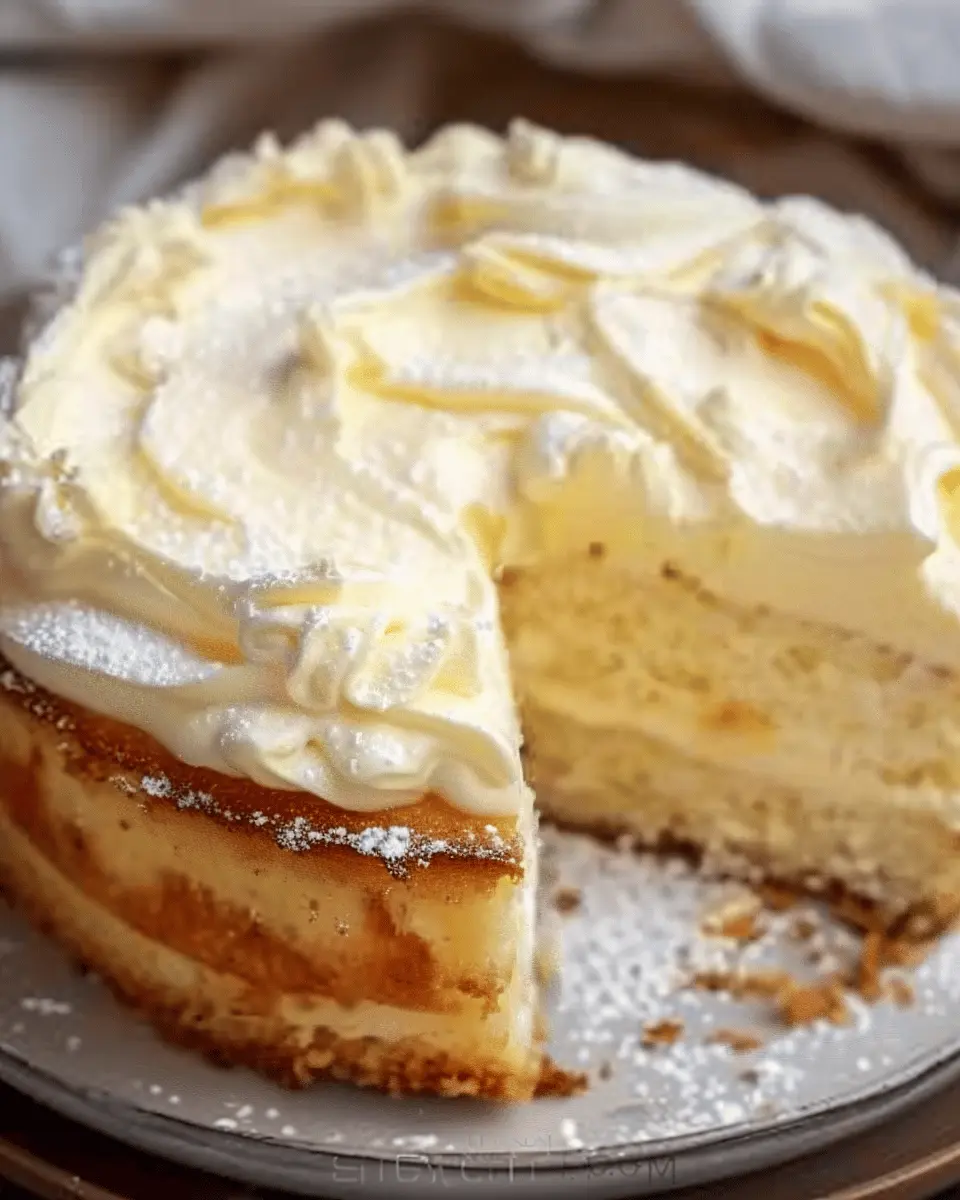
If you’re on the hunt for a dessert ideal for cozy nights in or casual gatherings, look no further than the beloved melt-in-your-mouth cake. This cake doesn’t just satisfy your sweet tooth; it’s a warm hug for your taste buds. There’s something uniquely comforting about a dessert that practically dissolves as soon as it touches your tongue.
But why does this cake hold such a special place in our hearts? According to a study by the American Psychological Association, comfort foods, like cake, can evoke fond memories and feelings of nostalgia. Think about it: many of us have kitchen memories tied to baking with family or friends. That moment when you take something fresh out of the oven, the delightful aroma filling your home—it’s pure joy.
Why This Cake Is the Ultimate Comfort Dessert
The melt-in-your-mouth cake is celebrated for its simple ingredients and straightforward preparation, making it accessible even for novice bakers. With staples like flour, sugar, eggs, and a hint of vanilla, you can create magic that costs next to nothing. Plus, it’s incredibly versatile! Dare to be creative by adding fresh fruits, nuts, or even swapping standard ingredients for healthier alternatives.
- Affordability: You don’t need a hefty budget to whip up this gem. The basic ingredients are often pantry staples.
- Simplicity: The step-by-step process means less chaos in the kitchen. It’s all about mixing and letting the magic happen.
- Customization: Make it your own! Whether you prefer chocolate, lemon, or something special, the possibilities are endless.
And let’s be honest: there’s nothing better than bringing a homemade dessert to a gathering and watching friends and family delight in a slice—especially when they realize how easy it was to make! If you’re looking for inspiration, check out helpful baking guides on The Kitchn or Sally’s Baking Addiction that dive into creative variations on the classic cake.
In a world where life can feel rushed, treat yourself to this melt-in-your-mouth cake and experience the warmth and joy that come with each bite. Are you ready to get baking?
Ingredients for Melt-in-Your-Mouth Cake
Creating a melt-in-your-mouth cake is simple and requires just a few essential ingredients that you may already have in your kitchen. Let’s break it down!
Essential ingredients for the dough
For the cake base, you’ll need:
- All-purpose flour: This forms the structure; opt for high-quality brands for the best texture.
- Granulated sugar: Sweetness is key! Adjust to your taste; a bit more sugar can enhance that melt-in-your-mouth quality.
- Baking powder: This is your leavening agent, helping the cake rise beautifully.
- Butter: Make it unsalted for better control over seasoning; this adds richness.
- Eggs: Fresh eggs contribute to moisture and binding.
- Milk: Whole milk works wonders to keep the cake tender and moist.
Key ingredients for the cream filling
This is where the magic happens! For the filling, gather these ingredients:
- Heavy cream: The star of your filling; it whips into clouds of delight.
- Powdered sugar: To sweeten the cream without the graininess of granulated sugar.
- Vanilla extract: A splash elevates the flavor, making each bite irresistible.
Combining these simple yet effective ingredients results in a cake that truly lives up to its name. For more tips on baking fundamentals, check out this insightful guide on the science of baking. Enjoy your baking adventure!
Step-by-Step Preparation of Melt-in-Your-Mouth Cake
Creating a melt-in-your-mouth cake is not just about mixing ingredients; it’s an experience to savor. Let’s break down the process into simple, engaging steps that will guide you through making this delightful treat.
Gather and Prepare Your Ingredients
Before diving into the mixing and baking, start by assembling all your ingredients. This ensures you won’t be caught searching for that elusive cup of sugar halfway through the process (trust me, it happens!). Here’s what you’ll need:
- Flour: 2 cups (all-purpose works great)
- Sugar: 1 cup (granulated)
- Baking powder: 2 tablespoons
- Salt: ½ teaspoon
- Butter: ½ cup (unsalted, room temperature)
- Eggs: 4 large
- Milk: 1 cup (or a plant-based alternative)
- Vanilla extract: 2 teaspoons
Also, ensure you have parchment paper to line your baking pans and make the cake easier to remove after baking.
Create the Dough Mixture
In a large mixing bowl, start by combining the dry ingredients: flour, baking powder, and salt. Whisk these together to ensure they’re evenly distributed. Then, let’s move on to the fun part—mixing the wet ingredients!
- In a separate bowl, cream the butter and sugar together using a hand mixer or stand mixer until light and fluffy. Picture that cloud-like texture; you want it!
- Add the eggs one at a time, ensuring each is fully incorporated before adding the next. The mixture should look soft and pale.
- Slowly pour in the milk and vanilla extract, mixing gently until everything is well blended. Gradually add the dry ingredients and mix until just combined. Don’t over-mix! We’re aiming for that perfect soft texture.
Bake the Dough Layers
Now that you have your batter ready, it’s time to bake! Preheat your oven to 350°F (175°C).
- Line your baking pans with parchment paper and lightly grease the sides.
- Divide the batter evenly between two pans (or even three, depending on how tall you want your cake).
- Bake for approximately 25-30 minutes or until a toothpick inserted into the center comes out clean. Remember, oven temperatures can fluctuate, so keep an eye on your layers.
Prepare the Cream Filling
While the cake layers are baking and filling your kitchen with that irresistible aroma, it’s the perfect time to prepare your cream filling:
- Heavy cream: 1 cup (or a dairy-free alternative)
- Powdered sugar: ½ cup
- Vanilla extract: 1 teaspoon
- In a chilled bowl, whip the heavy cream until it begins to thicken.
- Gradually add in your powdered sugar and vanilla, continuing to whip until soft peaks form. This cream will truly elevate your melt-in-your-mouth cake.
Assemble the Cake Layers
Once the cake layers are completely cool, it’s time for assembly:
- Place one layer on a serving platter. Generously spread a portion of the cream filling on top.
- Add the second layer and repeat the process, stacking them carefully.
- If you have a third layer, go wild and top it as well! You can reserve some cream to cover the sides if you fancy a fully frosted look.
Chill to Perfection
Let’s do the best thing for your cake: chill it in the fridge for at least 30 minutes. This step allows the flavors to meld beautifully. Be patient—the wait is worth it!
And there you have it, a step-by-step guide to creating a delightful melt-in-your-mouth cake that’s not only easy on the wallet but also a show-stopper at any gathering. Enjoy each bite, and don’t forget to share your masterpiece with friends! If you’re curious about different flavor variations, feel free to explore recipes that showcase seasonal fruits or chocolate to complement this basic recipe. Happy baking!
Variations on Melt-in-Your-Mouth Cake
Exploring variations of melt-in-your-mouth cake can elevate this delightful treat even further. Whether you have a craving for chocolate or want to introduce some fruity freshness, there’s a twist for everyone.
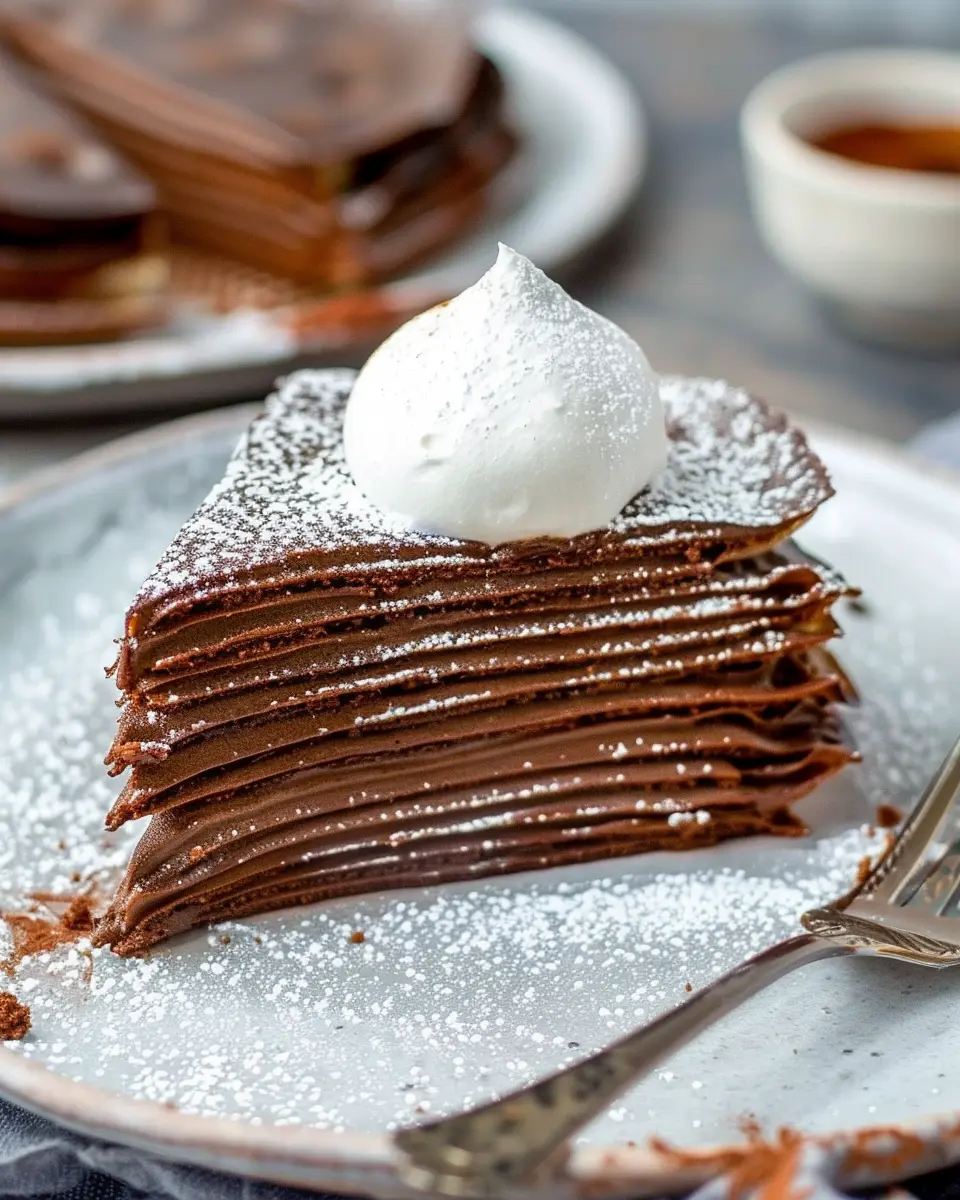
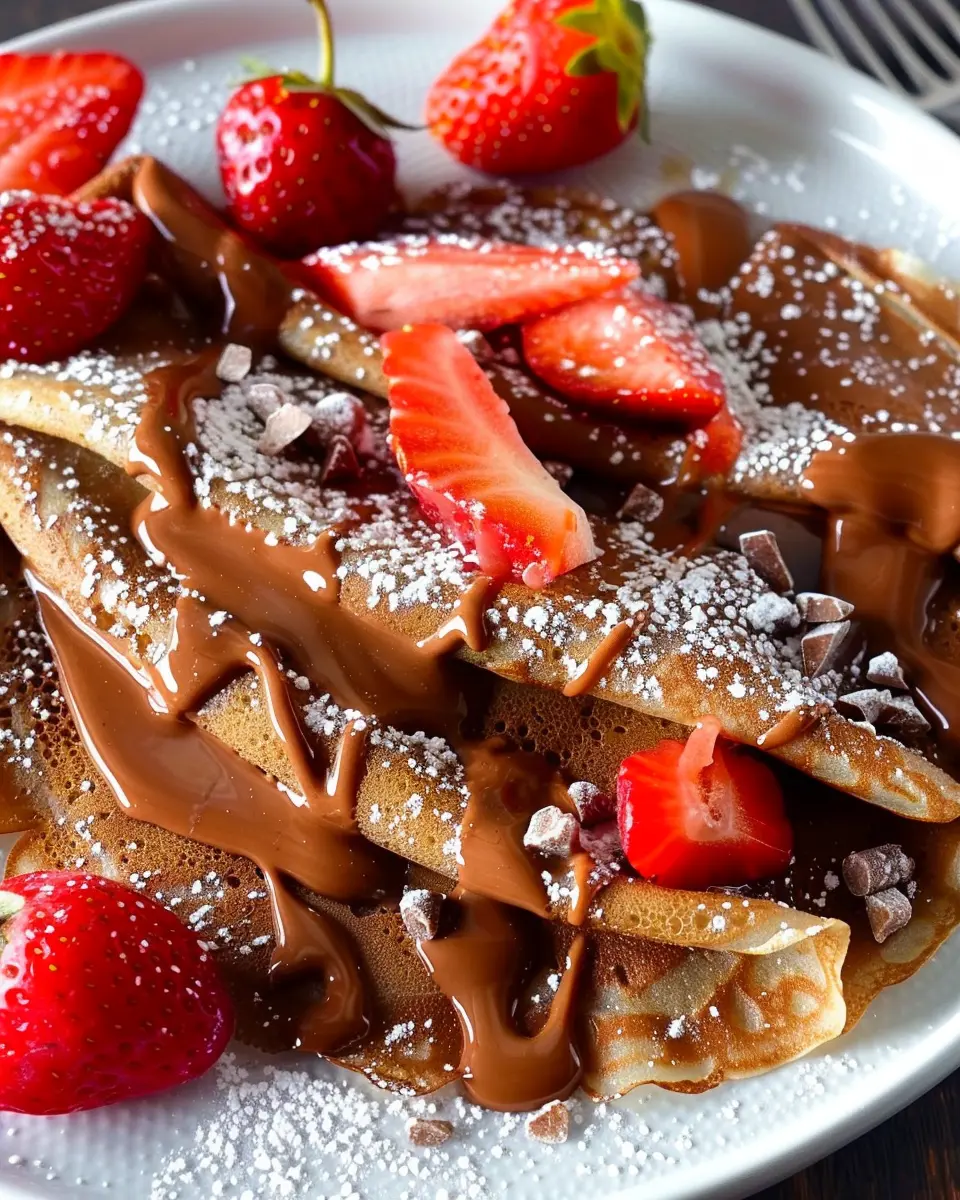
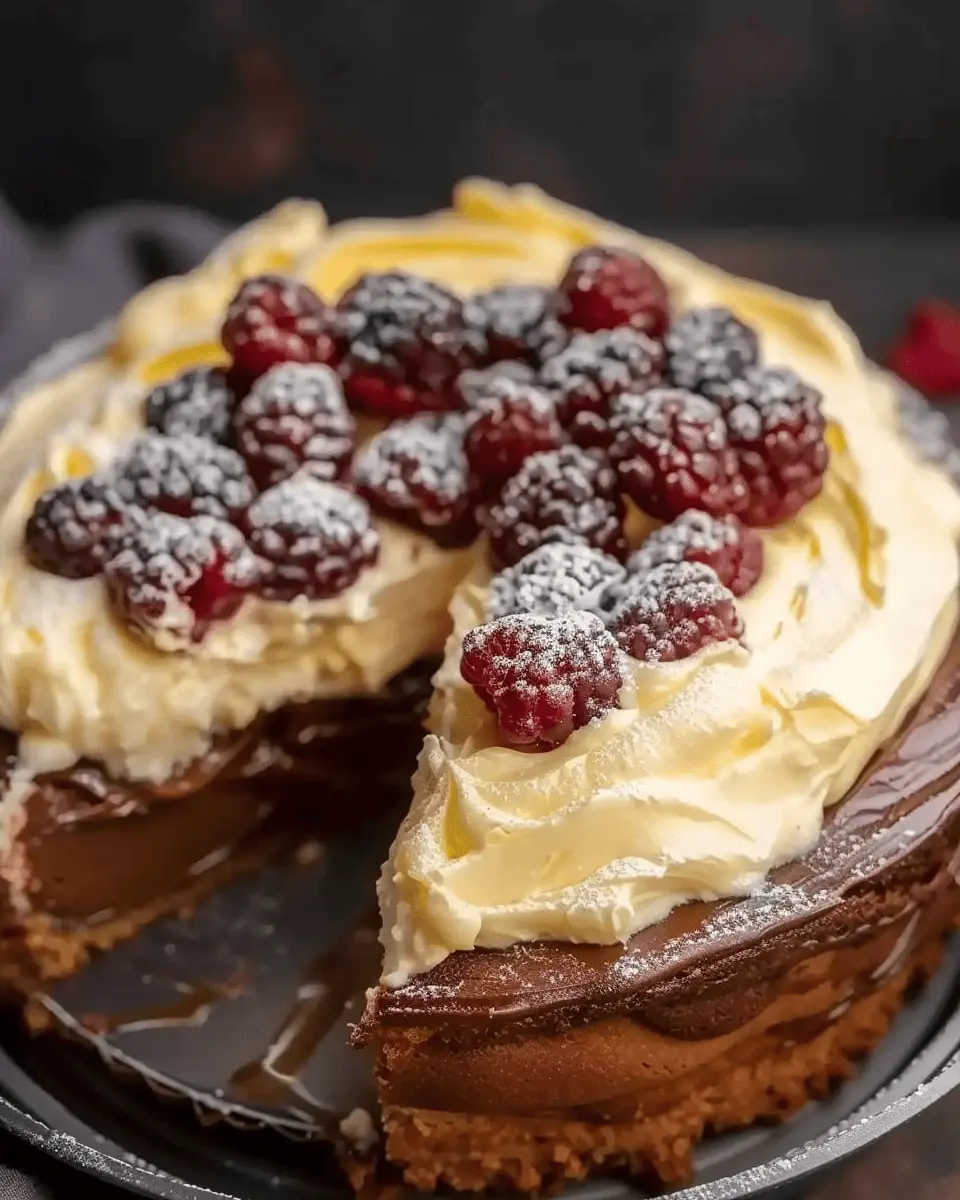
Indulgent Chocolate Melt-in-Your-Mouth Cake
If you’re a chocolate lover, then this version is for you! To transform your standard melt-in-your-mouth cake into an indulgent chocolate dream, simply incorporate cocoa powder into the batter. Here’s a quick guideline:
- Substitute ¼ cup of flour with ¼ cup of unsweetened cocoa powder.
- Add chocolate chips to the batter for that ooey-gooey texture.
- Drizzle with a rich ganache made of cream and dark chocolate for an extravagant finish.
Not only does this chocolate variation create a delightful contrast in flavors, but it also increases the cake’s visual appeal, making it perfect for special occasions. You can find some amazing chocolate ganache recipes on Martha Stewart’s website.
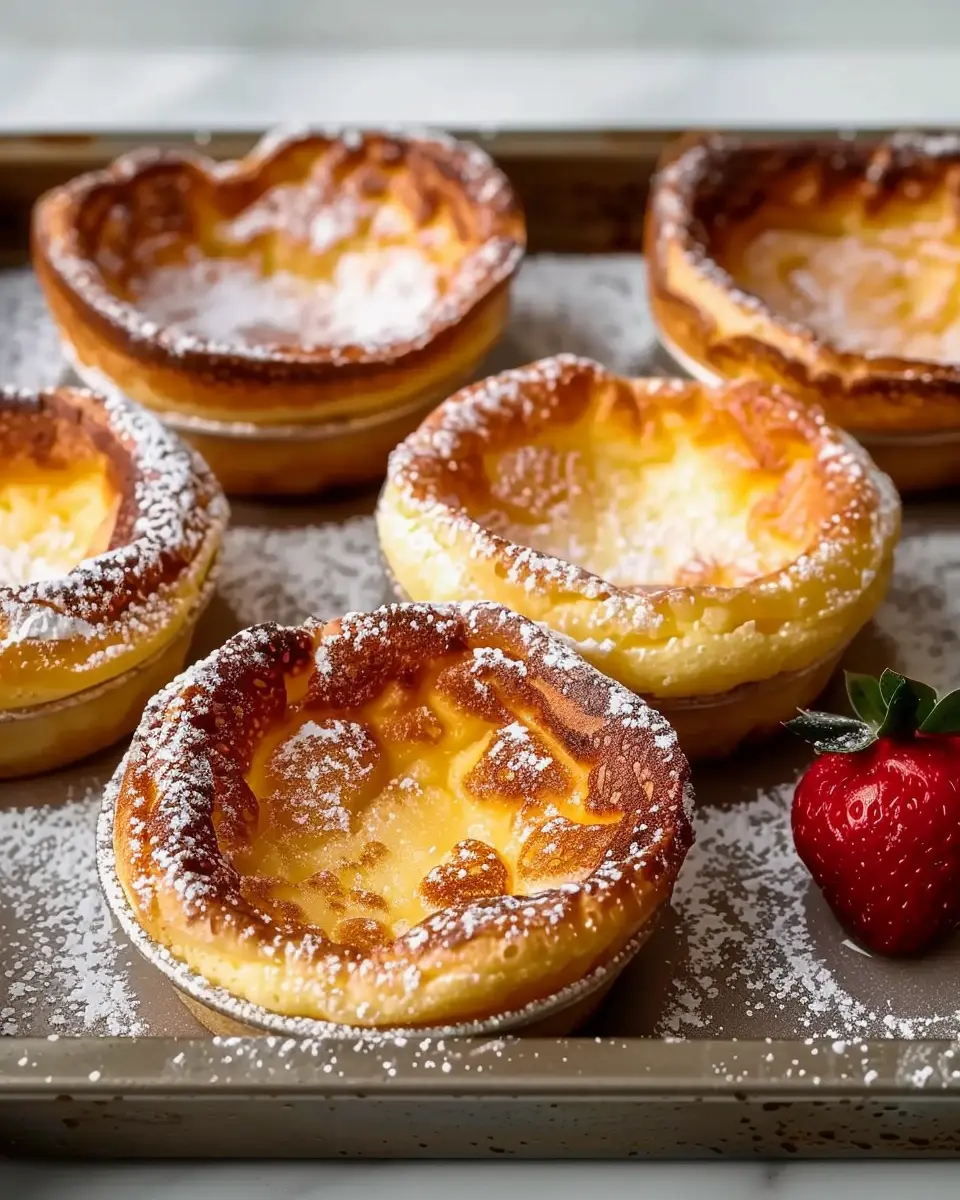
Refreshing Fruit-Infused Melt-in-Your-Mouth Cake
For a lighter option, consider a fruit-infused melt-in-your-mouth cake. Using seasonal fruits can elevate the cake while adding natural sweetness. Here’s how to do it:
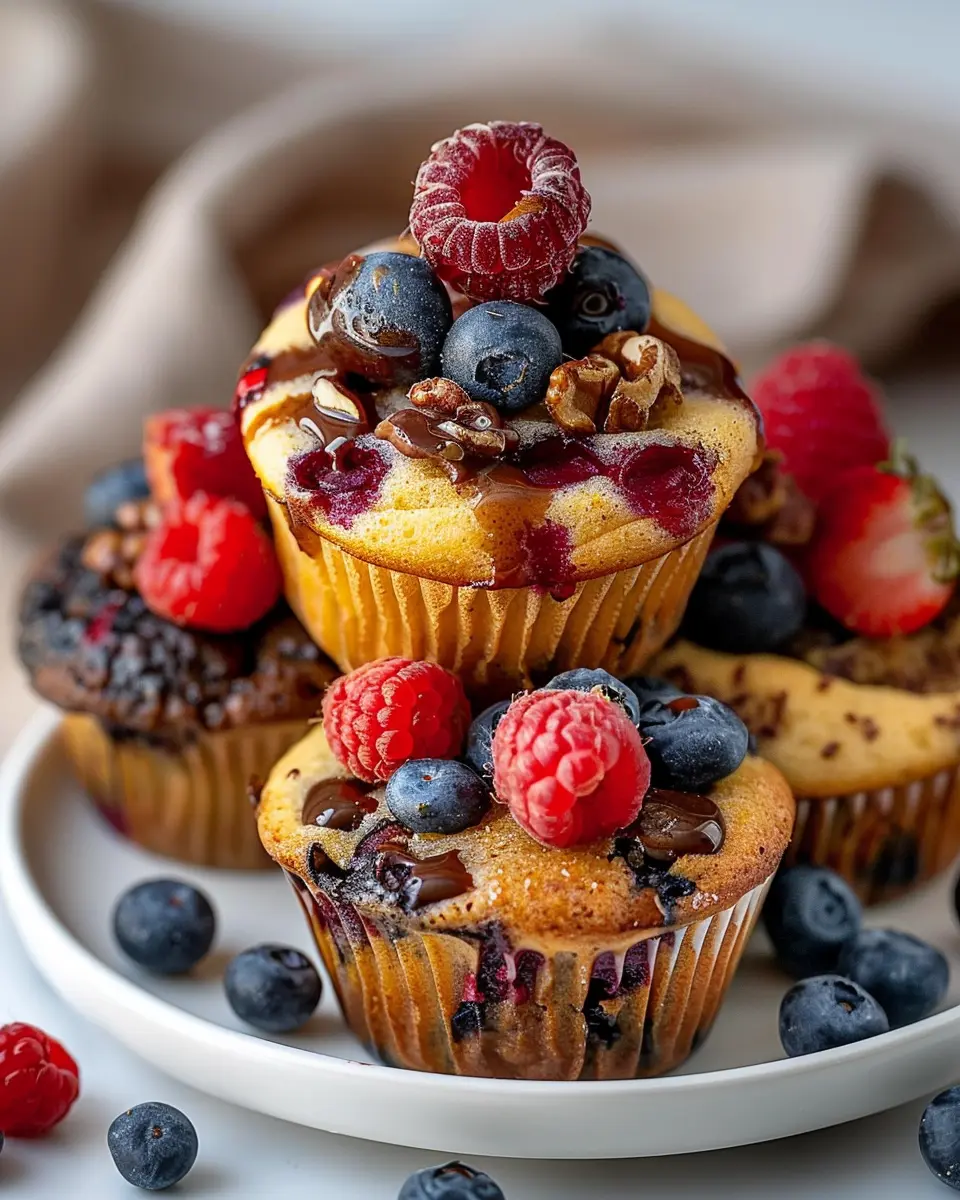
- Fold in 1 cup of pureed fruit like strawberries, bananas, or peaches into your batter.
- Enhance the flavor with a dash of citrus zest—lemon or orange works beautifully.
- Top with a layer of fresh fruit or a simple glaze made from powdered sugar and citrus juice for added pizzazz.
This variation not only looks stunning but also provides a deliciously refreshing alternative. For more ideas on incorporating fruit into baked goods, check out the Food Network’s tips.
Embrace these variations on melt-in-your-mouth cake, and you’ll find that the possibilities are endless. Whether you go for chocolate or fruit, each bite is sure to impress!
Cooking Tips and Notes for Melt-in-Your-Mouth Cake
Common Baking Challenges and Solutions
Baking can sometimes lead to unexpected hiccups, especially when making a melt-in-your-mouth cake. Here are a couple of common issues and quick fixes:
- Overmixing the Batter: If you mix too much, your cake can turn out dense. Use a gentle folding technique to maintain that tender texture.
- Uneven Baking: Make sure your oven is properly calibrated. Investing in an oven thermometer can help ensure consistent results. You want your cake to rise evenly for that delightful mouthfeel!
Ingredient Swaps and Enhancements
Feel free to get creative with your ingredients! Here are some ideas to elevate your melt-in-your-mouth cake:
- Sweetener Alternatives: If you’re low on sugar, consider using honey or maple syrup for a unique twist.
- Dairy Substitutes: Almond or oat milk can easily replace regular milk if you have dietary restrictions, ensuring that your cake stays moist and scrumptious.
- Add Some Zest: A teaspoon of lemon or orange zest can add a refreshing brightness to your cake without adding cost.
For more tips and techniques, check out resources like Serious Eats or Bon Appétit for inspiration!
Serving Suggestions for Melt-in-Your-Mouth Cake
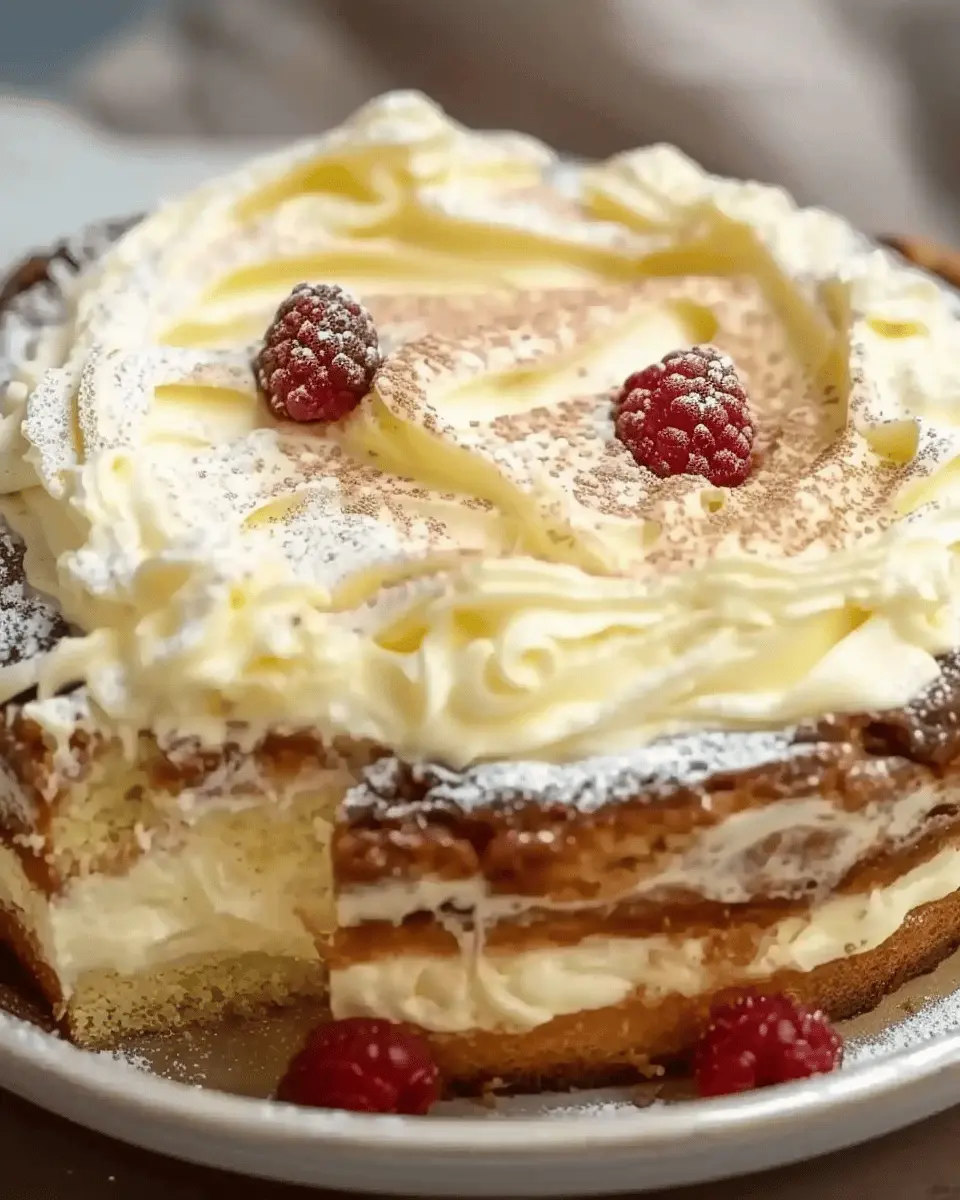
Garnish ideas for a stunning presentation
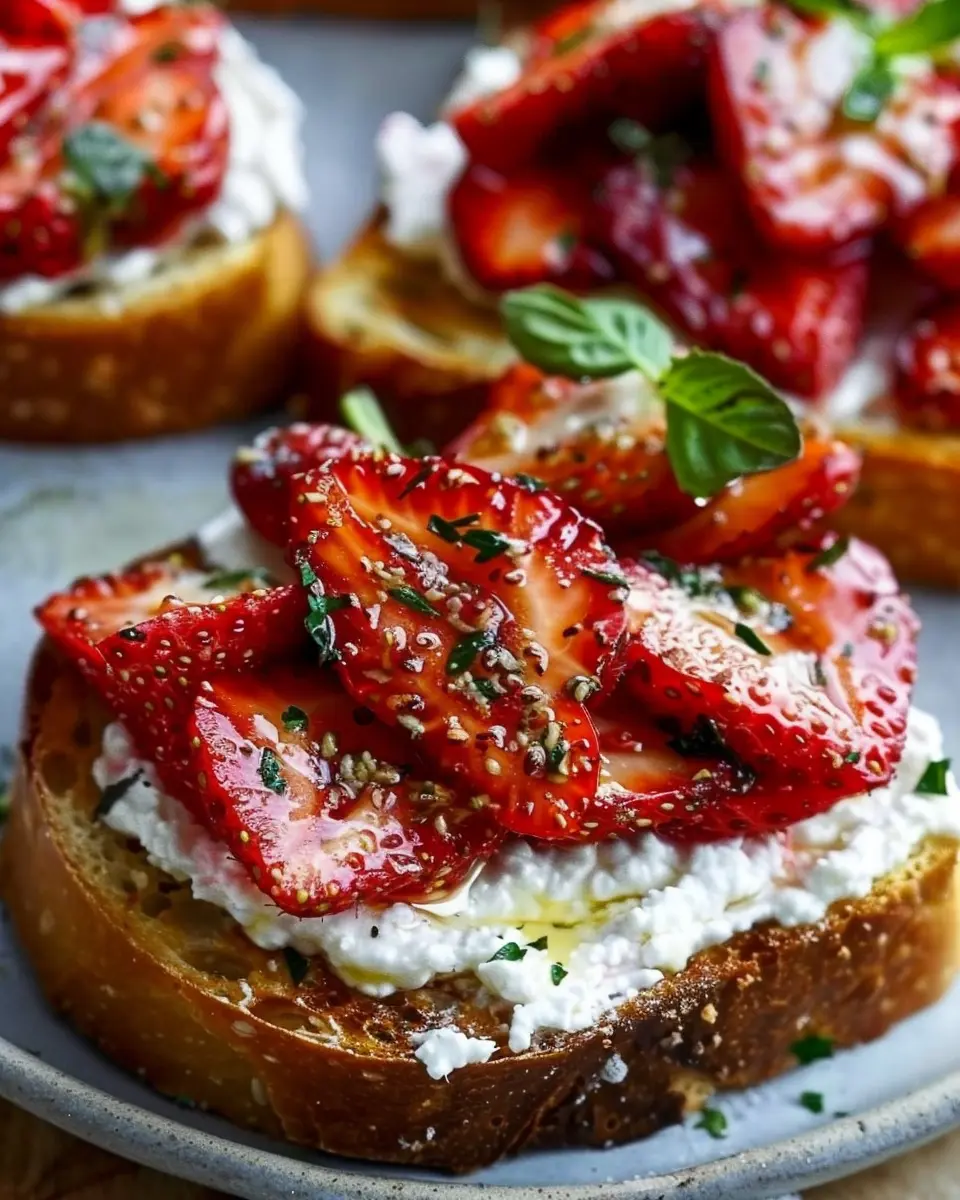
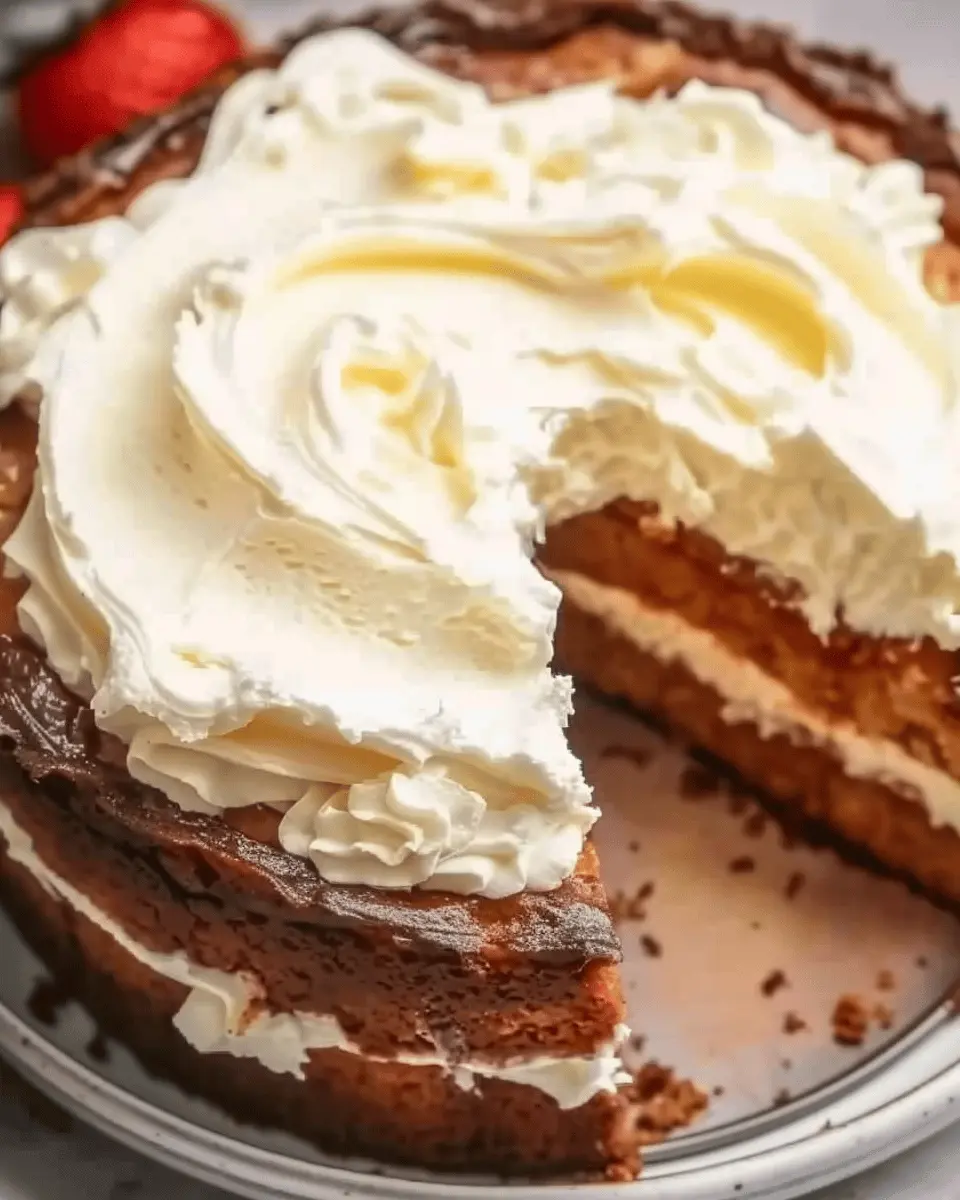
To elevate your melt-in-your-mouth cake into a showstopper, consider these garnish ideas. A dusting of powdered sugar not only adds sweetness but also gives your cake a beautiful finish. Fresh berries, like strawberries or raspberries, can add a pop of color and a tart contrast to the sweet cake. For a touch of elegance, top with a dollop of whipped cream or a scoop of vanilla bean ice cream. Drizzling rich chocolate or caramel sauce can also offer a deliciously indulgent look. Personalize your cake by adding edible flowers or mint leaves for that extra flair.
Pairings for a delightful dessert experience
Pairing your melt-in-your-mouth cake with complementary flavors can turn a simple treat into a gourmet experience. Consider serving it alongside a steaming cup of freshly brewed coffee for a cozy afternoon pick-me-up. Hot cocoa or a creamy chai latte can also enhance the experience, especially on chilly days. For a refreshing twist, try pairing it with a fruity herbal iced tea—think hibiscus or chamomile. These combinations not only taste great together but also provide an opportunity to experiment with different flavor profiles.
For more inspiration, check out this guide on flavor pairings to really impress your guests!
Time Breakdown for Melt-in-Your-Mouth Cake
Preparation Time
Get ready to dive into the world of deliciousness with just about 30 minutes of prep work. Whipping up this melt-in-your-mouth cake is not only straightforward but also kind of therapeutic. Gather your ingredients, grease your pan, and mix those buttery elements—trust me, it’s all about that ease of preparation.
Baking Time
Now comes the exhilarating part—baking time! Set your oven to a cozy 350°F (175°C) and let your cake bake for about 25–30 minutes. You’ll want to keep an eye on it; when the aroma fills your kitchen, you’ll know you’re close. A toothpick insert will be your best friend here!
Chilling Time
After baking, allow your cake to cool, which takes around 10–15 minutes. This step is crucial to maintain that melt-in-your-mouth texture we all crave. Patience pays off, so resist the temptation to dig in right away!
Total Time
All in all, expect a total of about 1 hour from start to finish. The good news? You’ll have a delightful cake that doesn’t just taste heavenly; it also gives your wallet a break. Discover more tips and techniques to perfect your baking skills at The Kitchn and get inspired!
Nutritional Facts for Melt-in-Your-Mouth Cake
Calories per serving
Each slice of this melt-in-your-mouth cake comes in at around 200 calories, making it a guilt-free indulgence for any occasion. Perfectly portioned, you can enjoy your sweet treat without the worry of overindulgence.
Key nutritional components
This delightful cake isn’t just about the taste; it also packs a variety of important nutrients:
- Carbohydrates: Approximately 30g, providing the energy boost you need to power through your day.
- Fats: Around 8g, primarily healthy fats that lend to its moist texture.
- Protein: Roughly 3g, contributing to muscle maintenance and repair.
Incorporating ingredients like whole wheat flour and Greek yogurt can elevate the nutritional profile even further. You can find more insights on whole food benefits in articles from sources like Healthline.
Allergen information
As with many baked goods, this melt-in-your-mouth cake contains common allergens. Be mindful that it includes gluten from flour, but you can use gluten-free alternatives to accommodate dietary needs. Note that eggs and dairy are also present, so consider substitutions to ensure everyone can enjoy a slice. For tips on alternatives, check resources like The Allergy Chef.
Crafting your own melt-in-your-mouth cake is a sweet way to bring joy to your gathering while also keeping an eye on nutrition. Enjoy every delectable bite responsibly!
FAQs about Melt-in-Your-Mouth Cake
Can I make this cake in advance?
Absolutely! The melt-in-your-mouth cake is perfect for making ahead of time. In fact, allowing it to sit for a day enhances its flavors and texture. After baking, let the cake cool completely, then wrap it tightly in plastic wrap or store it in an airtight container. It can last for about 3 to 5 days on the counter if kept away from direct sunlight. If you want to enjoy it later, consider freezing it. Just be sure to wrap it well to prevent freezer burn!
What’s the best way to store leftover cake?
Keeping your melt-in-your-mouth cake fresh is easy! The best method depends on how quickly you’ll consume it:
- Short-term (up to 5 days): Store in an airtight container at room temperature.
- Long-term (up to 3 months): Freeze the cake. To do this, slice it into portions for easy access later. Wrap each slice securely in plastic wrap, and then place in a freezer bag.
When you’re ready to indulge again, simply let it thaw in the refrigerator overnight.
Can I use a different filling for this cake?
Absolutely! Feel free to get creative with fillings. While the traditional filling is delightful, you can swap it for your favorites:
- Fruit jams or preserves: Think raspberry, apricot, or blackberry for a fruity twist.
- Nut butters: A creamy almond or peanut butter filling adds a unique flavor.
- Cream cheese frosting: This provides a tangy counterpart to the sweetness.
Experimenting with different fillings not only personalizes your melt-in-your-mouth cake, but it also keeps things exciting for your taste buds. Check out more creative filling ideas here.
Enjoy baking and tasting your cake! Your creativity will surely shine through.
Conclusion on Melt-in-Your-Mouth Cake
Recap of why this cake is worth trying
In summary, the melt-in-your-mouth cake is a delightful treat that not only satisfies your sweet cravings but does so without breaking the bank. With its simple ingredients and straightforward preparation, it’s perfect for young professionals who may not have a lot of time or experience in the kitchen.
Imagine impressing your friends at your next gathering with this delicious cake. Plus, its light texture and buttery flavor make it an instant favorite. So why wait? Give this recipe a try and discover just how rewarding baking can be! For more tips on baking, check out King Arthur Baking for inspiring ideas.
PrintMelt-in-Your-Mouth Cake: A Simple Delight for Budget Bakers

A budget-friendly cake that is soft, delicious, and easy to make.
- Prep Time: 15 minutes
- Cook Time: 35 minutes
- Total Time: 50 minutes
- Yield: 12 servings 1x
- Category: Dessert
- Method: Baking
- Cuisine: American
- Diet: Vegetarian
Ingredients
- 2 cups all-purpose flour
- 1 cup granulated sugar
- 1 cup milk
- 1/2 cup vegetable oil
- 3 eggs
- 1 tablespoon baking powder
- 1 teaspoon vanilla extract
- 1/2 teaspoon salt
Instructions
- Preheat your oven to 350°F (175°C).
- In a mixing bowl, combine the flour, sugar, baking powder, and salt.
- In another bowl, whisk together the milk, oil, eggs, and vanilla extract.
- Gradually stir the wet ingredients into the dry ingredients until well combined.
- Pour the batter into a greased cake pan.
- Bake for 30-35 minutes, or until a toothpick inserted into the center comes out clean.
- Let the cake cool before serving.
Notes
- This cake can be served with frosting or fresh fruit.
- For a chocolate version, add cocoa powder to the dry ingredients.
Nutrition
- Serving Size: 1 slice
- Calories: 230
- Sugar: 10g
- Sodium: 180mg
- Fat: 8g
- Saturated Fat: 1g
- Unsaturated Fat: 6g
- Trans Fat: 0g
- Carbohydrates: 36g
- Fiber: 1g
- Protein: 3g
- Cholesterol: 40mg
Keywords: Melt-in-Your-Mouth Cake, Budget Baking, Simple Cake Recipe