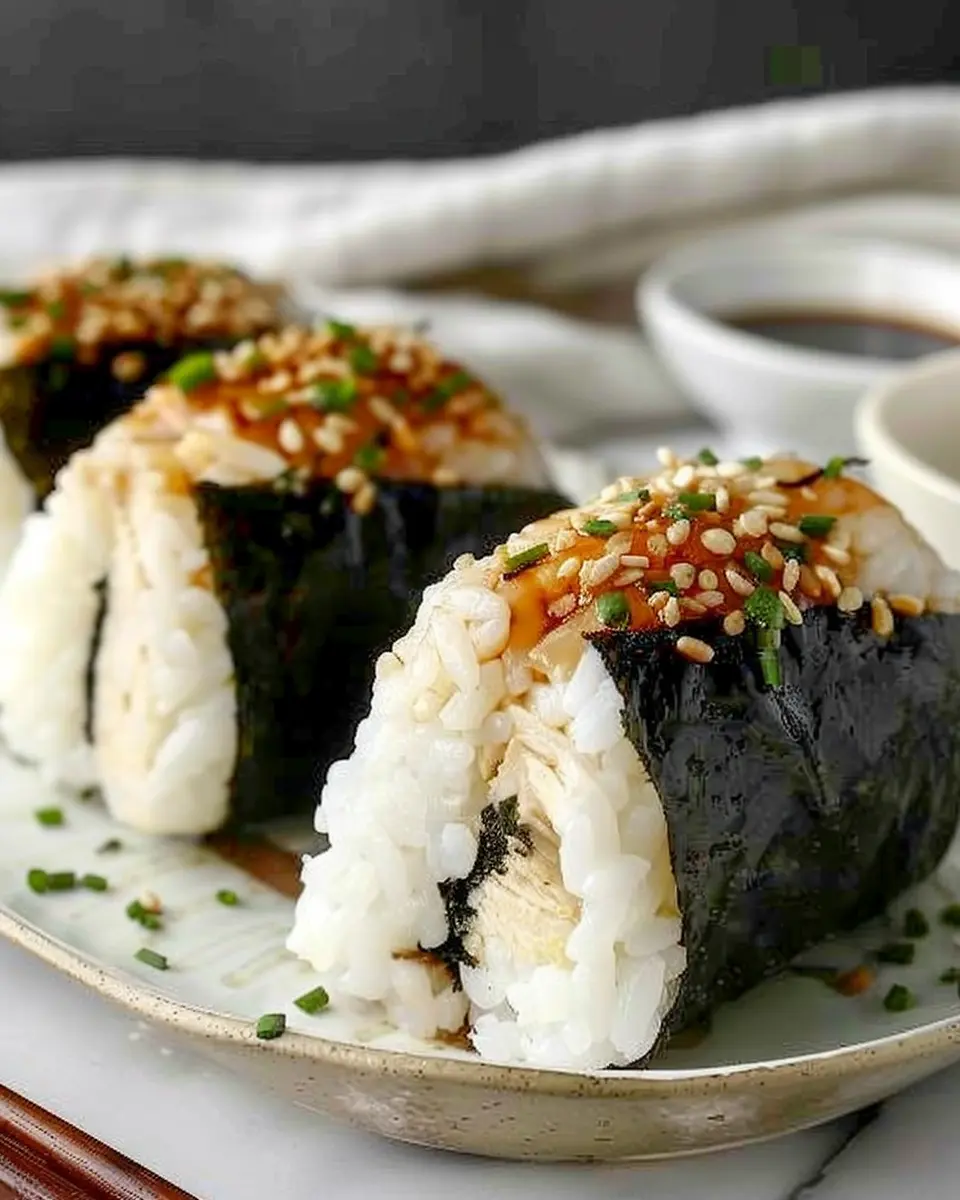
Chicken Onigiri: A Homemade Delight
Why Chicken Onigiri is Perfect for Young Professionals
If you’re a young professional navigating the hustle and bustle of work life, you’re probably always on the lookout for quick, healthy, and delicious meals that can easily fit into your busy schedule. Enter chicken onigiri—the ideal homemade treat that checks all those boxes!
Imagine this: you’ve just come home after a long day, and the last thing you want to do is slave away in the kitchen. With chicken onigiri, you can prepare a batch in advance, and they’ll be ready to grab and go for lunch or a quick dinner. They are not only portable and perfect for meal prep, but they’re also balanced and satisfying, combining protein-rich chicken with the goodness of rice.
A Delicious and Nutritious Choice
Onigiri, or rice balls, is a traditional Japanese snack that has gained popularity worldwide. What makes chicken onigiri so appealing?
-
High Protein Content: Chicken is a lean protein source, which helps in muscle repair and keeps you feeling full.
-
Easy to Customize: You can tailor the fillings to your taste with chicken ham or turkey bacon, ensuring every bite is packed with flavor.
-
Make Ahead: You can prepare multiple servings in one go. Just wrap them individually, and they’ll last a few days in the fridge.
Health Benefits: According to professionals from the American Heart Association, consuming a balanced diet rich in lean proteins and whole grains—like those found in chicken onigiri—can boost your overall health.
Flavorful Variations to Keep Things Fresh
The beauty of chicken onigiri lies in its versatility. Here are a couple of ideas to switch things up:
- Spicy Mayo Filling: Add a touch of kick with some spicy mayo to your chicken filling.
- Vegetable Add-Ins: Consider mixing in diced cucumbers or avocado for a refreshing texture.
So when you’re seeking a quick bite during your lunch break or a late-night snack, remember that chicken onigiri isn’t just another food trend—it’s your delicious, homemade solution waiting to happen. Give it a go; you’ll be amazed at how simple it is to create, and more importantly, how you will feel nourished and energized!
Ingredients for Chicken Onigiri
Essential Ingredients for the Onigiri
Creating delicious chicken onigiri starts with the right foundation. Here’s what you’ll need:
- Short-grain Japanese rice: This sticky rice is perfect for holding your onigiri together. Look for sushi rice or mochi rice for the best texture.
- Cooked chicken: You can use shredded chicken breast or thighs for maximum flavor. For convenience, consider using chicken ham for a twist.
- Nori (seaweed sheets): These add a fantastic crunch and depth of flavor. You’d be surprised how much of a difference a good nori can make.
- Salt: A crucial element that enhances all the flavors in your onigiri.
- Water: To cook the rice, of course!
Optional Ingredients to Enhance Flavor
Want to take your chicken onigiri to the next level? Here are a few optional add-ins:
- Turkey bacon: A smoky, savory addition that contrasts nicely with the rice.
- Sesame seeds: Toasted sesame seeds can add an extra layer of nuttiness.
- Pickled vegetables: Options like tsukemono can bring a tangy crunch.
For an authentic experience, check out this resource on Japanese cooking for more tips and tricks! With these ingredients in hand, you’re on your way to mastering chicken onigiri that friends and family will adore!
Step-by-Step Preparation for Chicken Onigiri
Making chicken onigiri is not only a delightful culinary adventure, but it’s also an opportunity to infuse your kitchen with comforting flavors. This popular Japanese dish, consisting of seasoned rice molded into a triangle or oval shape and filled with savory ingredients, makes a perfect snack or main dish. Follow these steps for a simple yet satisfying homemade experience.
Cook the Sushi Rice
Start with the sushi rice, which is the heart of your chicken onigiri. Here’s how to do it perfectly:
-
Ingredients:
-
1 cup sushi rice
-
1 1/4 cups water
-
Instructions:
- Rinse the sushi rice under cold water until the water runs clear. This removes excess starch and prevents it from becoming gummy during cooking.
- Soak the rice in water for about 30 minutes. This helps the grains absorb moisture and cook evenly.
- Drain the rice and place it in a rice cooker or pot. Add the measured water.
- Cook according to your rice cooker’s settings or bring to a boil in a pot, then reduce heat, cover, and simmer for 18-20 minutes. After cooking, let it rest for 10 minutes before fluffing the grains with a fork.
Marinate the Chicken
Next, let’s prepare the chicken, which will serve as the delicious filling for your onigiri.
-
Ingredients:
-
1 chicken breast (about 300g), diced
-
2 tablespoons soy sauce
-
1 tablespoon mirin (or a splash of apple cider vinegar for a non-alcoholic option)
-
Instructions:
- Combine the diced chicken, soy sauce, and mirin (or vinegar) in a mixing bowl. Ensure every piece of chicken is coated well.
- Cover the bowl and let the chicken marinate for at least 20 minutes. This will enhance the flavor and tenderize the meat while you prepare the other components.
Prepare the Teriyaki Sauce
What’s chicken without a little flavor boost? A quick homemade teriyaki sauce is what you need.
-
Ingredients:
-
1/4 cup soy sauce
-
2 tablespoons brown sugar
-
1 tablespoon honey
-
1 teaspoon grated ginger
-
1 teaspoon garlic, minced
-
Instructions:
- In a small saucepan, combine all the ingredients and bring it to a gentle simmer.
- Stir continuously until the sugar completely dissolves and the sauce thickens slightly, about 3-5 minutes. Set it aside to cool.
Cook the Chicken
Now it’s time to bring the marinated chicken to life on the stove!
- Instructions:
- Heat a skillet over medium heat and add a splash of oil.
- Once hot, add the marinated chicken pieces. Cook until the chicken is golden brown and cooked through, about 5-7 minutes.
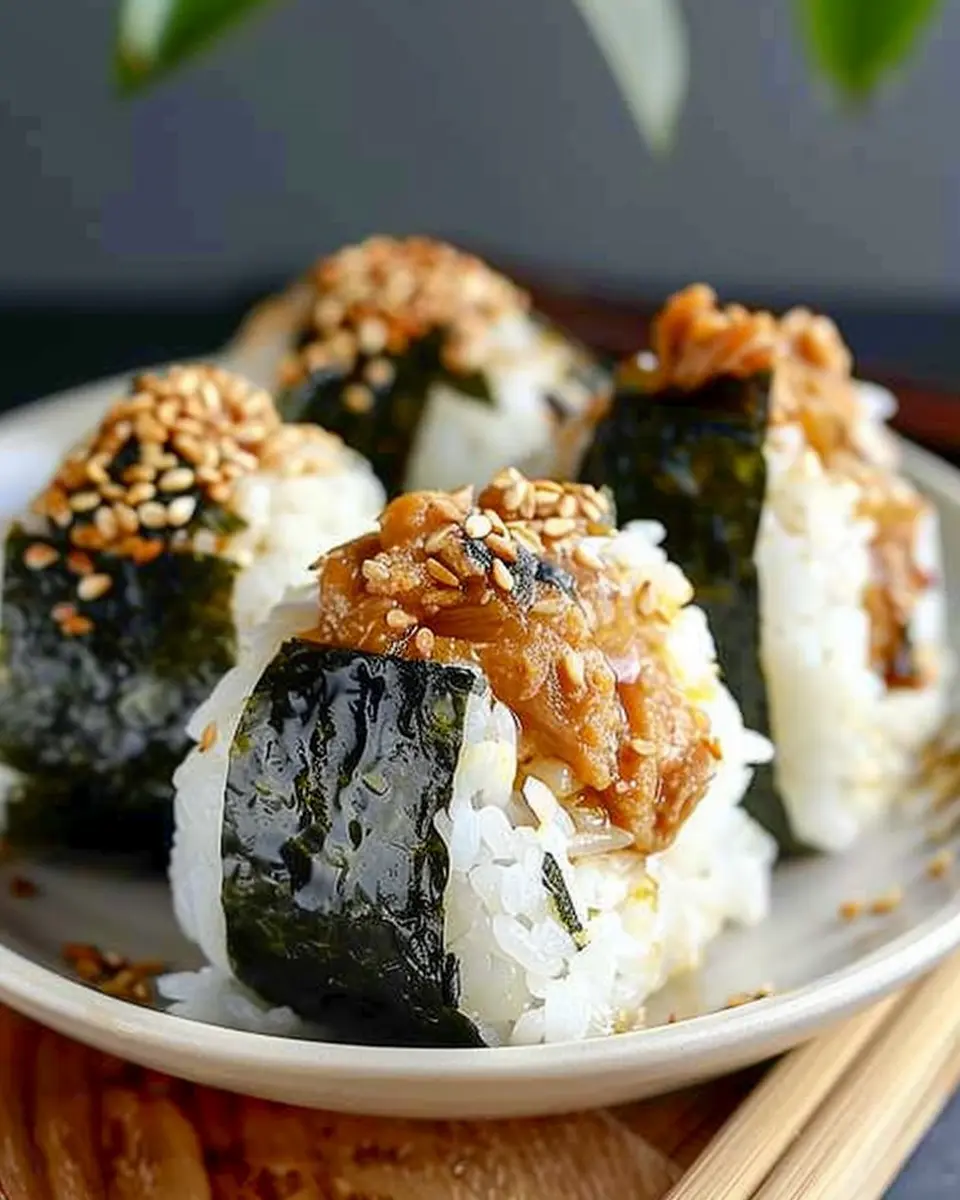
- Drizzle the prepared teriyaki sauce over the chicken and cook for an additional 2 minutes until the sauce glazes the chicken beautifully.
Shape the Onigiri
You’re almost there! Now, let’s assemble your chicken onigiri.
- Instructions:
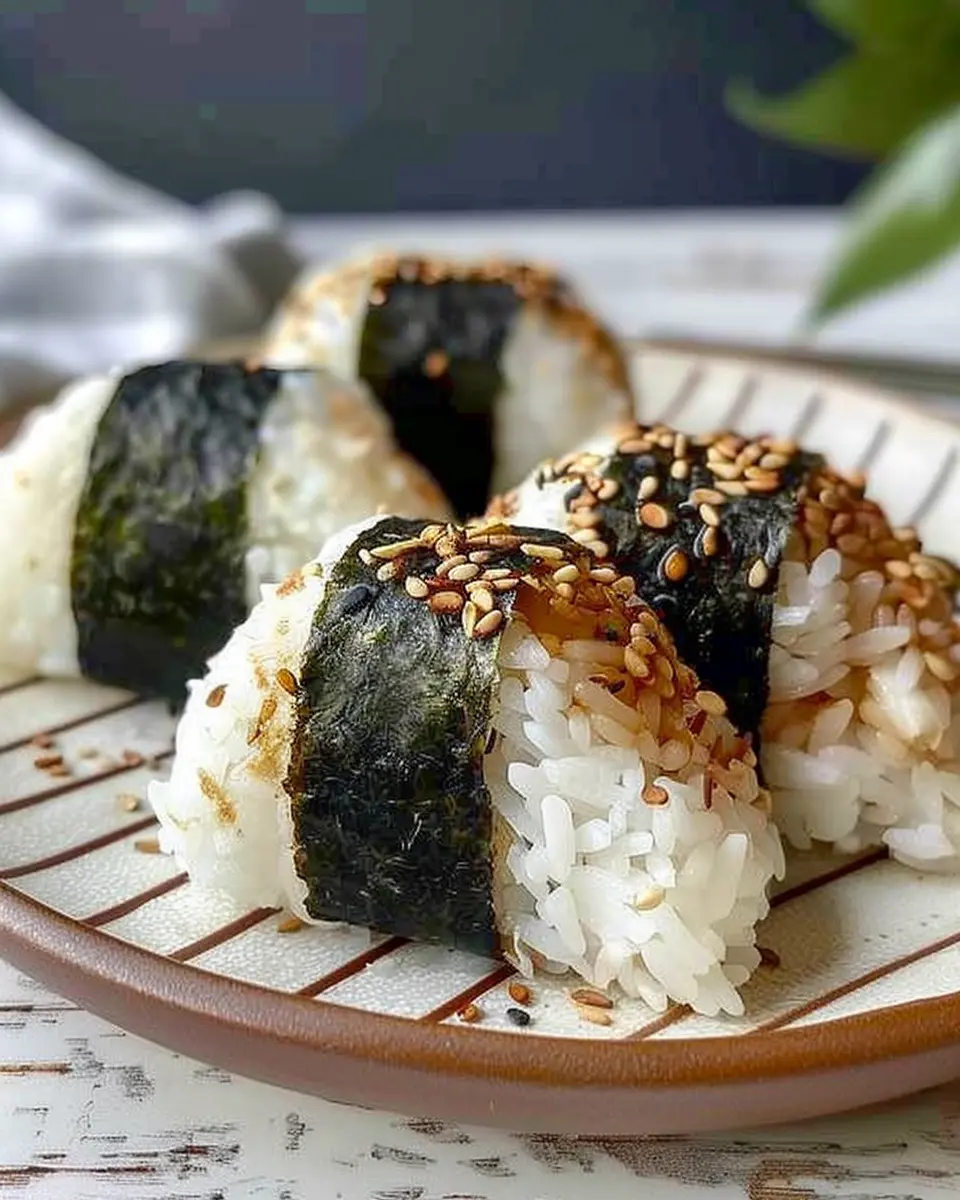
- Once the sushi rice has cooled slightly but is still warm, wet your hands with a bit of water. This prevents the rice from sticking.
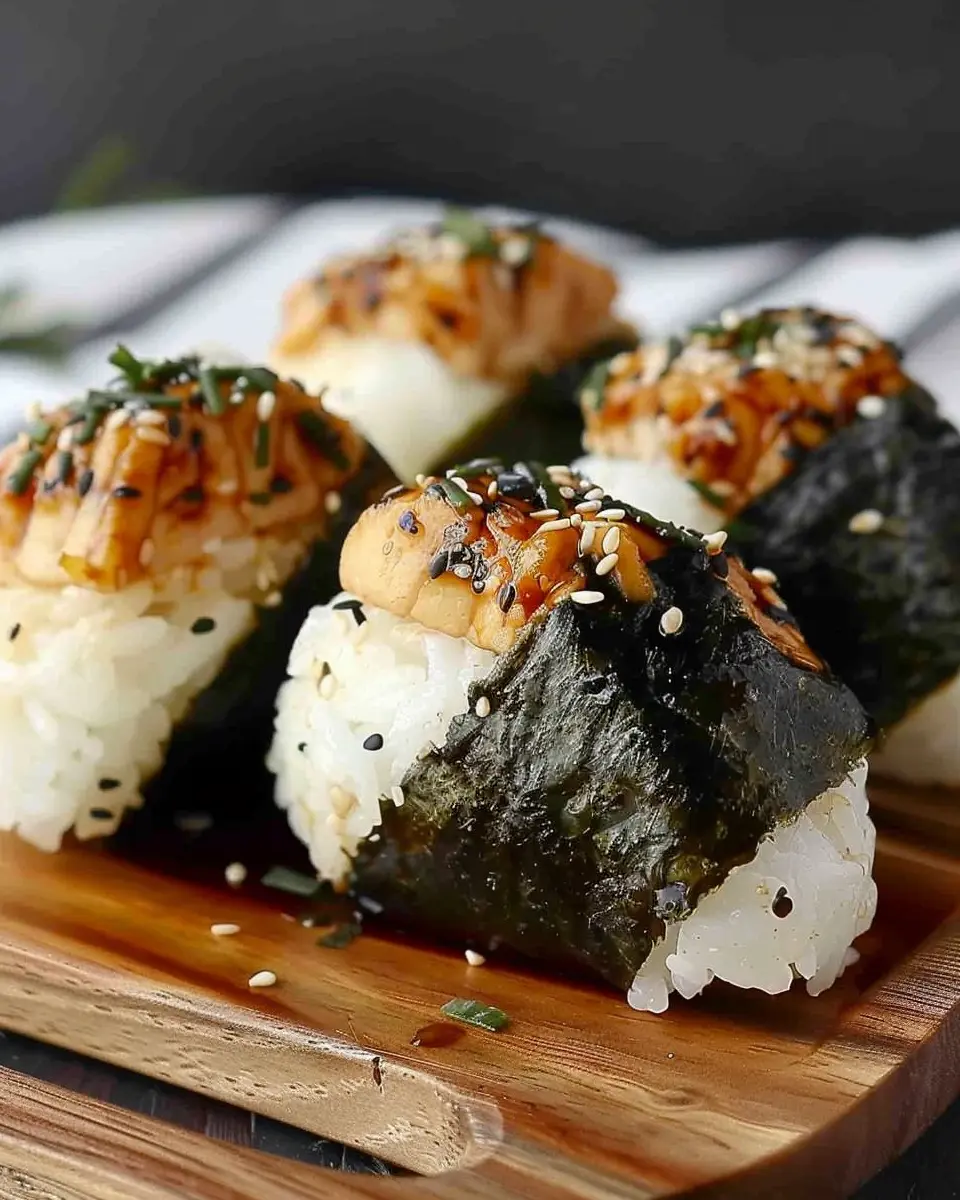
- Take about a quarter cup of rice and flatten it into your palm. Place a spoonful of the cooked chicken in the center and cover the chicken with more rice, shaping it into a triangle or oval.
- Wrap a strip of seaweed around the onigiri if desired, for added flavor and texture.
Serve your delightful chicken onigiri warm or at room temperature, and enjoy the satisfying blend of flavors and textures. They’re perfect for lunch, a snack, or even a picnic! For additional tips on how to store or customize your onigiri, you can explore sites like Just One Cookbook for inspiration. Happy cooking!
Variations on Chicken Onigiri
When it comes to chicken onigiri, the possibilities are endless! This delightful Japanese rice ball is not only a convenient snack but also a canvas for creativity. Let’s explore a couple of exciting variations that will elevate your onigiri game.
Spicy Chicken Onigiri
If you love a kick of heat, spicy chicken onigiri is your go-to. Start by mixing shredded cooked chicken with a blend of gochujang (Korean chili paste) and a splash of soy sauce. You can even add a bit of sesame oil for richness. For a unique touch, chop some fresh jalapeños or sprinkle red pepper flakes into your mix. This fiery filling pairs beautifully with the mild flavor of foraged sushi rice. Wrap your tasty creation with a sheet of seaweed, and you’ve got a mouthwatering snack that packs a punch!
To complement your spicy bites, consider serving them with a cool cucumber salad dressed with rice vinegar or a tangy yogurt dip.
Veggie-Filled Onigiri for a Twist
If you’re looking to enjoy a lighter option, how about a veggie-filled onigiri? This vibrant variation can feature ingredients like roasted sweet potatoes, fresh spinach, or grilled aubergine combined with a dash of miso paste. You can get creative with your veggies—you might even substitute in some silken tofu for added protein.
Not only is this veggie version packed with nutrients, but it also caters to plant-based eaters and adds a splash of color to your lunchbox. You can find great inspiration for fillings at the Edible Schoolyard, which promotes healthy eating!
With these variations, your chicken onigiri will not just be a meal but a delightful culinary adventure. So, which version will you try first?
Cooking Tips and Notes for Chicken Onigiri
Ensuring Perfectly Cooked Rice
The heart of any chicken onigiri is the rice. Start with short-grain or medium-grain rice for that sticky texture. Rinse the rice thoroughly until the water runs clear to remove excess starch; this step is vital for preventing clumping. Use a rice cooker for consistent results, or if you prefer the stovetop, ensure you measure water accurately (1:1 ratio for sticky rice). Once cooked, let it steam off the heat for about 10 minutes—the steam will give it that perfect fluffy finish.
Tips for Shaping the Onigiri
Shaping your chicken onigiri can be fun! Make sure your hands are wet to prevent sticking, and consider using cling film for easier shaping. For traditional triangular shapes, use a mold or simply form them with your hands. Don’t forget to pack the rice gently; you want a firm hold but not compacted like a brick. Adding a little sea salt can enhance flavor and help create that beautiful exterior gloss.
Every onigiri is a canvas—get creative with fillings and shapes! For more tips on making the perfect rice, check out The Perfect Rice Recipe. Happy cooking!
Serving Suggestions for Chicken Onigiri
When it comes to enjoying your chicken onigiri, thoughtful serving suggestions can elevate your experience and make it even more delightful. Let’s explore some tasty pairings and drink options!
Pairing with Dipping Sauces
Enhancing your chicken onigiri with the right dipping sauces can bring out the flavors beautifully. Here are some delicious suggestions:
- Soy Sauce: A classic choice, soy sauce adds a salty umami kick. You can also try low-sodium options for a healthier twist.
- Sesame Sauce: For a nutty flavor, drizzle some sesame dressing over your onigiri. It’s a rich and flavorful pairing!
- Spicy Mayo: If you like a bit of heat, combine mayonnaise with sriracha for a creamy, spicy dip that perfectly contrasts the rice.
What Drinks Complement Onigiri?
Pairing the right drink with your chicken onigiri can enhance your meal. Consider these options:
- Green Tea: A traditional choice, green tea refreshes the palate and complements the flavors of your onigiri.
- Sparkling Water: If you’re looking for a refreshing non-sweet option, sparkling water with a squeeze of lemon is perfect.
- Fruit Juices: Freshly squeezed juices, like orange or apple, provide a sweet contrast to the savory rice balls.
By pairing your chicken onigiri with these sauces and drinks, you’ll create a delicious and authentic dining experience. For more on enhancing your meals, check out this guide on complementary flavors.
Time Breakdown for Making Chicken Onigiri
Preparation Time
Making chicken onigiri is a breeze! You’ll need about 15 minutes to gather your ingredients and prep everything. This includes cooking your rice, seasoning it, and cooking your chicken if you’re starting from scratch.
Cooking Time
The cooking process typically takes around 20 minutes. This includes frying the chicken until it’s beautifully golden and tender, plus letting the rice cool a bit before you start shaping your onigiri.
Total Time
In total, you’re looking at approximately 35 minutes from start to finish. It’s a quick, satisfying meal that doesn’t skimp on flavor. Perfect for a busy weekday dinner or as a lunch packed with love! For more on preparing the rice perfectly, check out this resource on rice cooking techniques.
Nutritional Facts for Chicken Onigiri
Caloric Content
When it comes to enjoying chicken onigiri, knowing the caloric content can help you fit this delicious treat into your daily meal plan. A typical chicken onigiri, which includes seasoned rice and chicken filling, generally contains around 200–250 calories. This makes it a fantastic option for lunch, a snack, or a light dinner.
Breakdown of Protein, Fats, and Carbs
Let’s dive a little deeper into the nutritional profile of chicken onigiri:
- Protein: Approximately 15 grams, thanks to the chicken and rice, making it a great source of energy.
- Fats: Around 5 grams, primarily from any added ingredients like sesame oil or avocado.
- Carbohydrates: About 35 grams, largely from the rice, which provides a comforting, filling base.
With these nutrient values, chicken onigiri is not only satisfying but also offers a balance of macronutrients to keep you energized throughout your busy day. For more detailed nutritional insights, check out resources like the USDA FoodData Central which provides comprehensive food data.
Next time you prepare a batch, consider how you can incorporate chicken onigiri into your balanced diet!
FAQ About Chicken Onigiri
Can I use brown rice instead of sushi rice?
Absolutely! While sushi rice is the classic choice for making chicken onigiri, using brown rice is a healthy alternative that adds a nutty flavor and extra fiber. However, keep in mind that the texture will differ; brown rice may be a bit chewier and less sticky. For best results, cook the brown rice with a bit more water and use a rice cooker if possible. Want a more nutritional punch? Healthline offers a great comparison of rice types you might find useful.
How can I store leftover Chicken Onigiri?
Storing your leftover chicken onigiri is simple! Wrap each piece in plastic wrap to keep them fresh and store them in the refrigerator for up to three days. Just make sure they don’t touch each other to prevent sogginess. If you want to keep them longer, consider freezing them. Place the wrapped onigiri in an airtight container or freezer bag, and they’ll be good in the freezer for up to a month. Just remember to label your containers for easy retrieval later!
What is the best way to reheat Chicken Onigiri?
Reheating chicken onigiri is straightforward! If you stored them in the fridge, you can heat them wrapped in a damp paper towel in the microwave for about 20-30 seconds. This helps maintain moisture. For freezing, let them thaw in the fridge overnight, and then reheat as mentioned above. Avoid using the oven, as that might dry them out. If you’re looking for more tips on reheating rice-based dishes, check out this handy guide on culinary techniques.
With these FAQs in mind, you’re all set to enjoy your chicken onigiri to the fullest!
Conclusion on Chicken Onigiri
Embracing Home-Cooked Comfort with Chicken Onigiri
In the world of cozy, home-cooked meals, chicken onigiri stands out as a delicious and adaptable dish. With its simple assembly and endless flavor possibilities, you can unleash your creativity by experimenting with fillings or even dipping sauces. Whether you’re prepping a quick lunch or sharing a delightful dinner with friends, these rice balls are sure to impress.
Joining the onigiri trend means embracing a wholesome meal packed with nutrition. And remember, the joy of cooking lies not just in the food, but the experiences you create along the way. So, gather your loved ones, roll some onigiri, and celebrate comfort food together! For more inspiration, check out Japanese cooking techniques or rice varieties.
PrintChicken Onigiri: Easy and Flavorful Homemade Delights to Try
Learn how to make delicious Chicken Onigiri, a flavorful and easy-to-make Japanese rice ball that makes for a great snack or meal.
- Prep Time: 30 minutes
- Cook Time: 20 minutes
- Total Time: 50 minutes
- Yield: 10 onigiri 1x
- Category: snack
- Method: no-cook, stovetop
- Cuisine: Japanese
- Diet: gluten-free
Ingredients
- 2 cups sushi rice
- 2 1/2 cups water
- 1/2 pound cooked chicken, shredded
- 1 tablespoon soy sauce
- 1 teaspoon sesame oil
- 1/4 cup chopped green onions
- 1/4 teaspoon salt
- nori sheets for wrapping
Instructions
- Rinse the sushi rice under cold water until the water runs clear.
- Combine the rice and water in a saucepan and bring to a boil. Reduce heat to low, cover, and simmer for 18-20 minutes.
- In a bowl, mix the shredded chicken with soy sauce, sesame oil, green onions, and salt.
- Once rice is cooked, let it cool slightly, then wet your hands and take a small amount of rice to form a ball.
- Make a small indentation in the center and fill with the chicken mixture. Shape the rice around the filling to form a triangle.
- Wrap with a strip of nori and serve.
Notes
- For extra flavor, consider adding furikake seasoning to the rice.
- Serve with pickled ginger for a refreshing contrast.
Nutrition
- Serving Size: 1 onigiri
- Calories: 180
- Sugar: 0g
- Sodium: 300mg
- Fat: 6g
- Saturated Fat: 1g
- Unsaturated Fat: 4g
- Trans Fat: 0g
- Carbohydrates: 26g
- Fiber: 1g
- Protein: 8g
- Cholesterol: 30mg
Keywords: Chicken Onigiri, homemade, Japanese rice balls