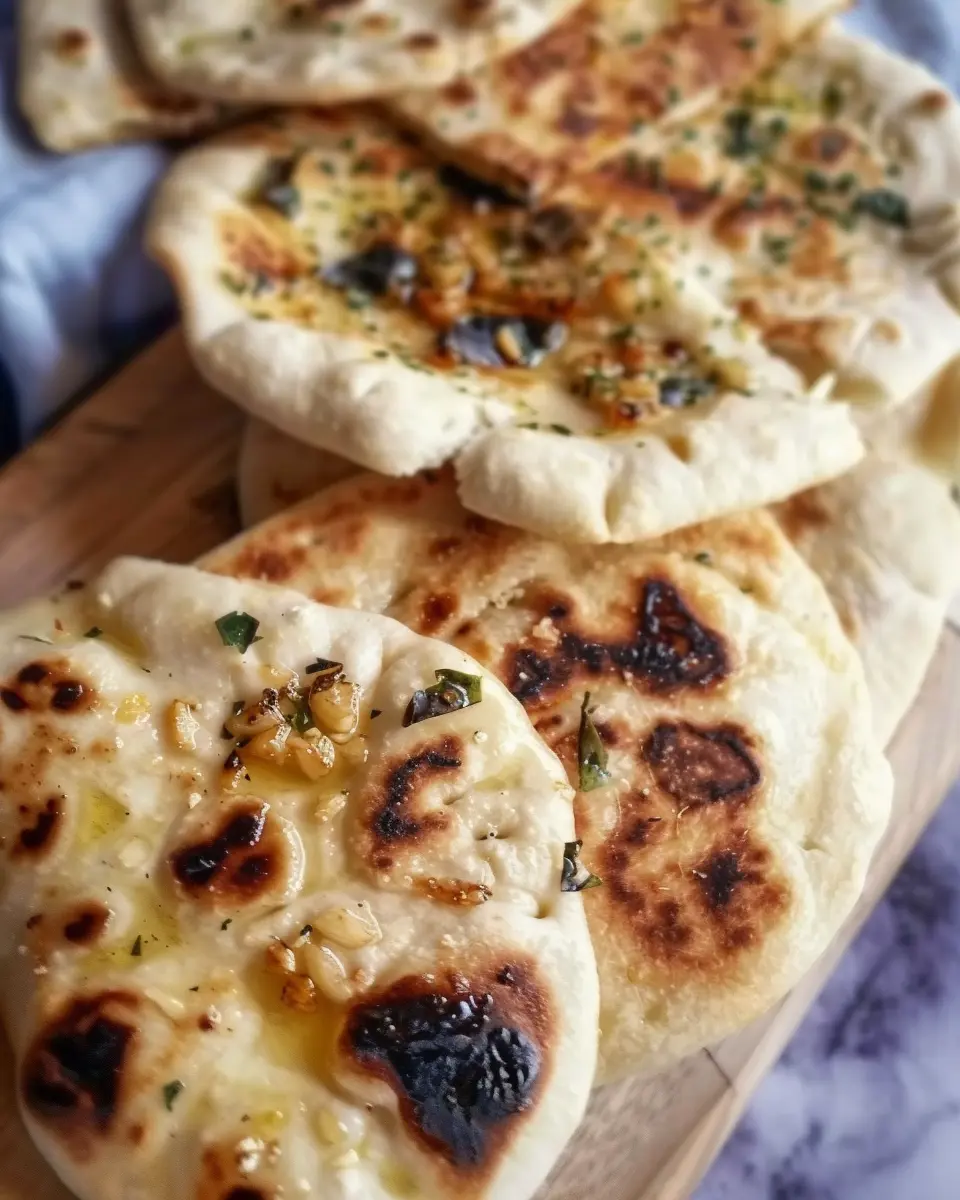
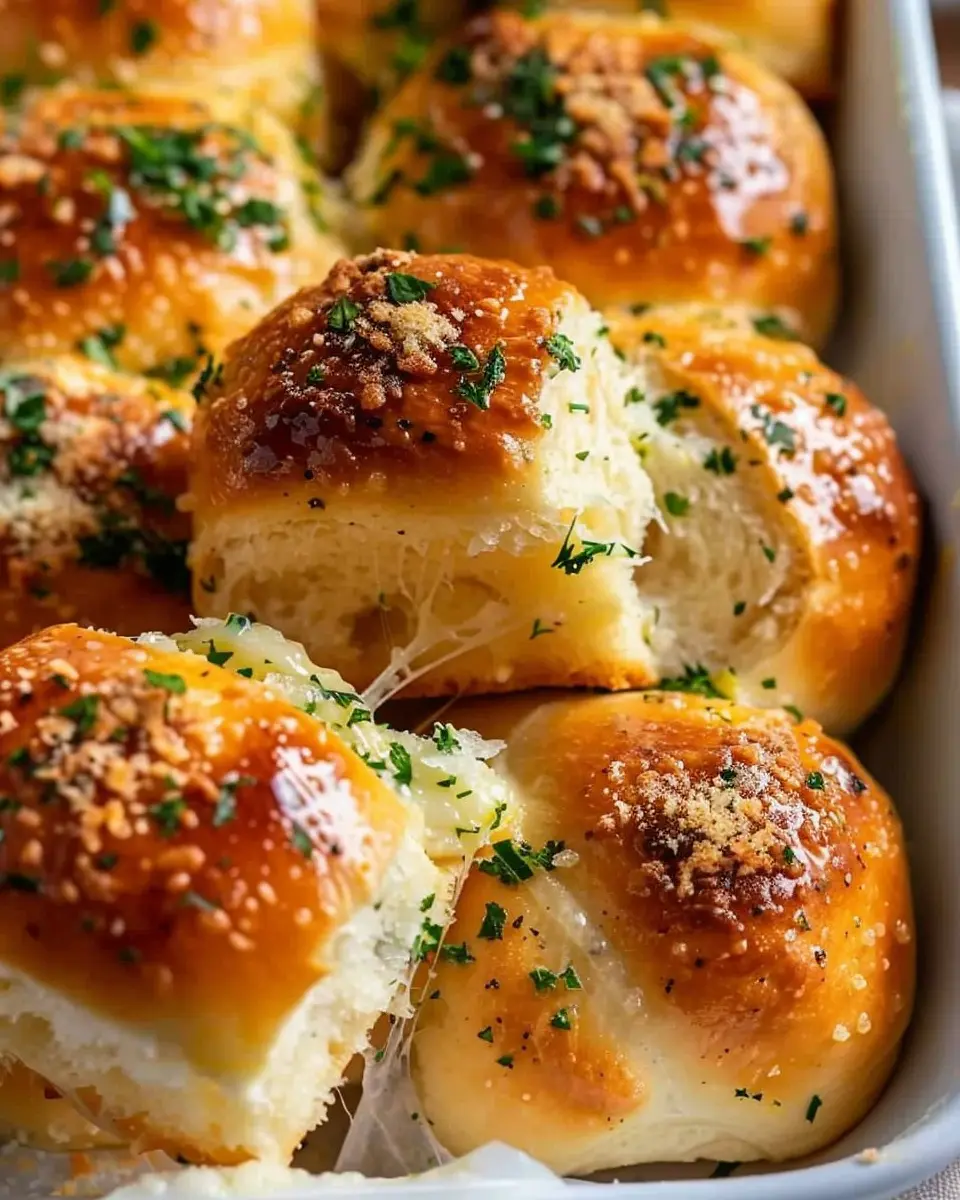
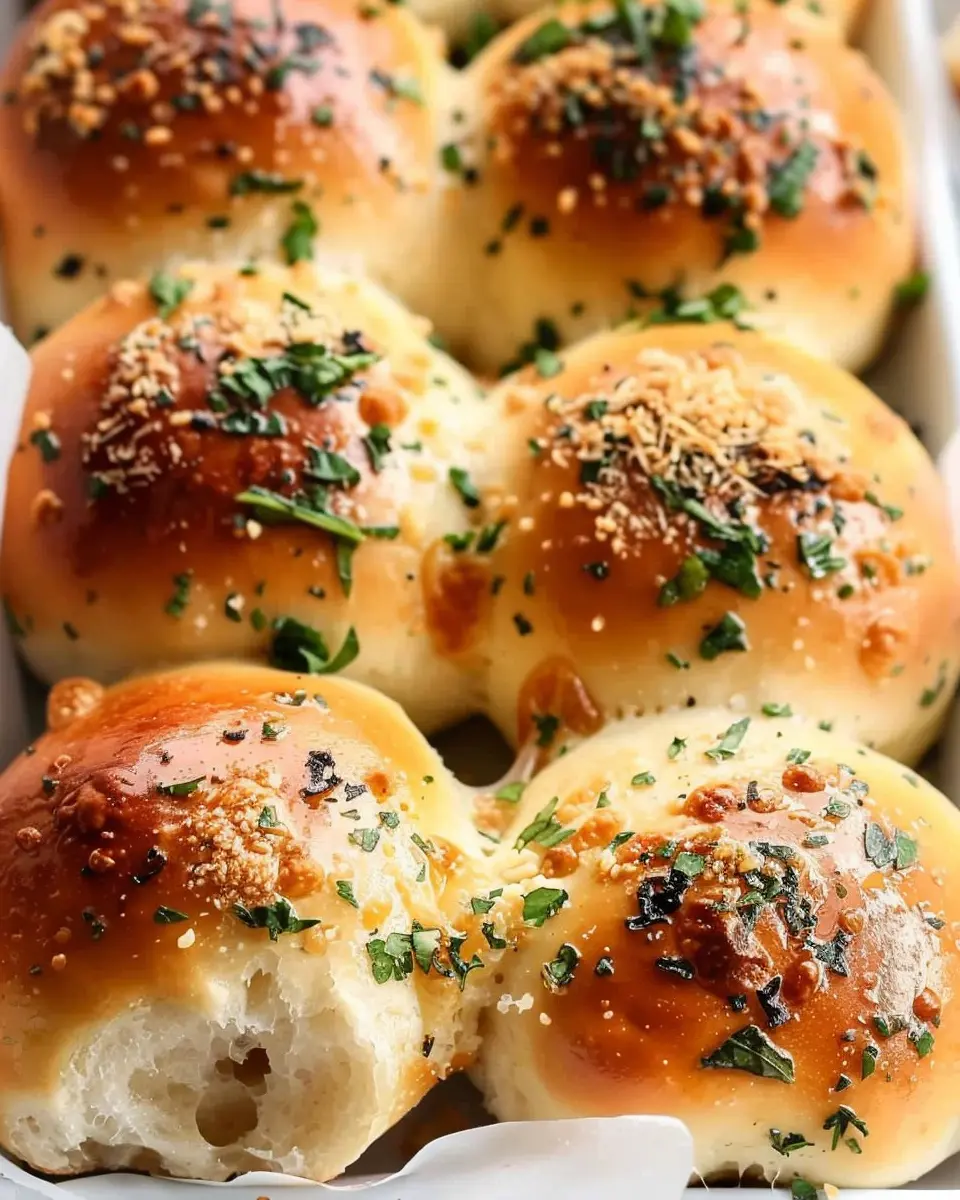
Introduction to Garlic Bread Rolls
When it comes to comfort food, garlic bread rolls hold a special place in our hearts—and our stomachs. There’s something undeniably satisfying about fresh rolls slathered in buttery garlic goodness, especially when they’re fresh out of the oven. If you’ve ever tasted store-bought ones, you might have thought that making them at home could be a real challenge. But let me assure you: it’s not only easy but also incredibly rewarding.
Why Make Garlic Bread Rolls at Home?
Making your own garlic bread rolls gives you the opportunity to create something truly special for your meals. Here are a few reasons why you should consider whipping up a batch in your kitchen:
-
Custom Flavor: When you make them at home, you’re in charge of the flavors. Want extra garlic? Go for it! Prefer a hint of herbs or cheese? Add those in! Whether you’re a garlic aficionado or just starting to appreciate its zing, the flavor possibilities are endless.
-
Fresh Ingredients: Nothing beats the aroma of fresh bread baking in your kitchen. You can use high-quality ingredients that align with your dietary preferences—like whole wheat flour or gluten-free options.
-
Perfect for Any Occasion: Garlic bread rolls are incredibly versatile. They pair wonderfully with pasta, soups, or as a stand-alone snack. They’re also a hit at gatherings, making you the star of any dinner party.
-
Cost-Effective: Have you checked the price of artisanal garlic bread at your local bakery? Making your own can save you money, allowing you to allocate more of your budget to other ingredients or perhaps that fancy olive oil for dipping.
As you experiment with your garlic bread rolls recipe, you may discover the joy of baking while impressing friends and family with your new creation. Just imagine their reactions as they take that first bite, accompanied by the delightful aroma wafting through your home. For more cooking inspiration, consider checking out insightful resources like America’s Test Kitchen or Bon Appétit.
So, roll up your sleeves, and let’s dive into making the best garlic bread rolls you’ve ever tasted!
Ingredients for Garlic Bread Rolls
When it comes to creating delectable Garlic Bread Rolls, the right ingredients make all the difference. Let’s break it down so you know precisely what you’ll need to whip up these delightful treats.
Essential Ingredients
- Bread Dough: You can make your own or opt for store-bought. If you’re short on time, pre-made dough is a fantastic option.
- Garlic: Fresh is best! A few cloves minced finely will elevate your rolls and give them that classic garlicky goodness.
- Butter: Unsalted butter works wonders. It will blend seamlessly with the garlic and herbs, creating a rich and flavorful filling.
- Parsley: Fresh parsley not only adds color but also a vibrant flavor. You can substitute it with dried parsley, but fresh is preferred.
- Cheese: Don’t forget mozzarella or parmesan for a gooey, melty surprise inside each roll.
Additional Flavor Options
Feel free to customize your Garlic Bread Rolls with additional ingredients like:
- Turkey Bacon: A subtle crunch and a smoky flavor.
- Chicken Ham: For a savory twist that pairs beautifully with garlic.
- Spices: A pinch of red pepper flakes for those who like a bit of heat!
For more tips on ingredient selection, check out Food Network and their expert advice.
Preparing Garlic Bread Rolls
Making Garlic Bread Rolls is an adventure in flavor and aroma that you’ll want to experience in your own kitchen. These homemade delights are perfect alongside any meal or as a snack on their own. Let’s dive into how to create these scrumptious rolls step by step!
Gather Your Ingredients
Before you embark on this culinary journey, gather all the necessary ingredients. This will not only streamline your cooking process but also prevent last-minute dashes to the grocery store. Here’s what you’ll need:
-
For the dough:
-
4 cups all-purpose flour
-
2 teaspoons instant yeast
-
1 teaspoon salt
-
1 cup warm water
-
3 tablespoons sugar
-
For the garlic butter:
-
½ cup unsalted butter (softened)
-
4-5 cloves garlic (minced)
-
1 tablespoon fresh parsley (chopped, optional)
-
A pinch of salt
Now that you have everything, the delicious aromas of Garlic Bread Rolls will soon waft through your kitchen.
Make the Garlic Butter
The heart of your Garlic Bread Rolls lies in the garlic butter. Start by creaming the softened butter in a bowl. Then, add the minced garlic and a pinch of salt. If you’re feeling adventurous, toss in chopped fresh parsley for added flavor and color. Mix until well combined, and set it aside. This garlic butter will not only enhance the rolls but can also be used to drizzle over salads or roasted vegetables for a tasty boost.
Combine Dry Ingredients
In a large mixing bowl, combine the flour, instant yeast, sugar, and salt. Stir these ingredients together until they are fully mixed. Forming a solid base is key when making bread; this way, your rolls maintain their structure while being delightfully fluffy.
Knead the Dough
Once your dry ingredients are combined, it’s time to add the warm water. Stir until a dough begins to form. Now you’ll knead the dough. This is where the magic happens! Transfer your dough onto a floured surface and knead for about 10 minutes until it’s smooth and elastic. Kneading develops gluten, which is essential for achieving that delightful roll texture. You might even find this process therapeutic—don’t be afraid to get your hands in there!
Shape the Rolls
After kneading, let the dough rest for a few minutes. Then, divide it into even pieces and shape these into small balls. Aim for a size that will fit nicely in your palms. As you roll each piece, you’ll feel the dough becoming more pliable. Arrange them on a greased baking tray with a little space in between each roll to allow for rising.
First Rise
Cover your baking tray with a clean kitchen towel and let the rolls rise in a warm location for about an hour. You want them to double in size. This step is crucial; it helps develop that soft, airy texture we all love in garlic bread rolls. Feeling impatient? You might try preheating your oven to 200°F (93°C) for a few minutes, then turning it off to create a cozy spot for the dough.
Prepare for Baking
Preheat your oven to 375°F (190°C). While your oven is heating, take the opportunity to prepare your garlic butter for brushing later. Keep it handy and perhaps consider sprinkling a tad more parsley in for good measure.
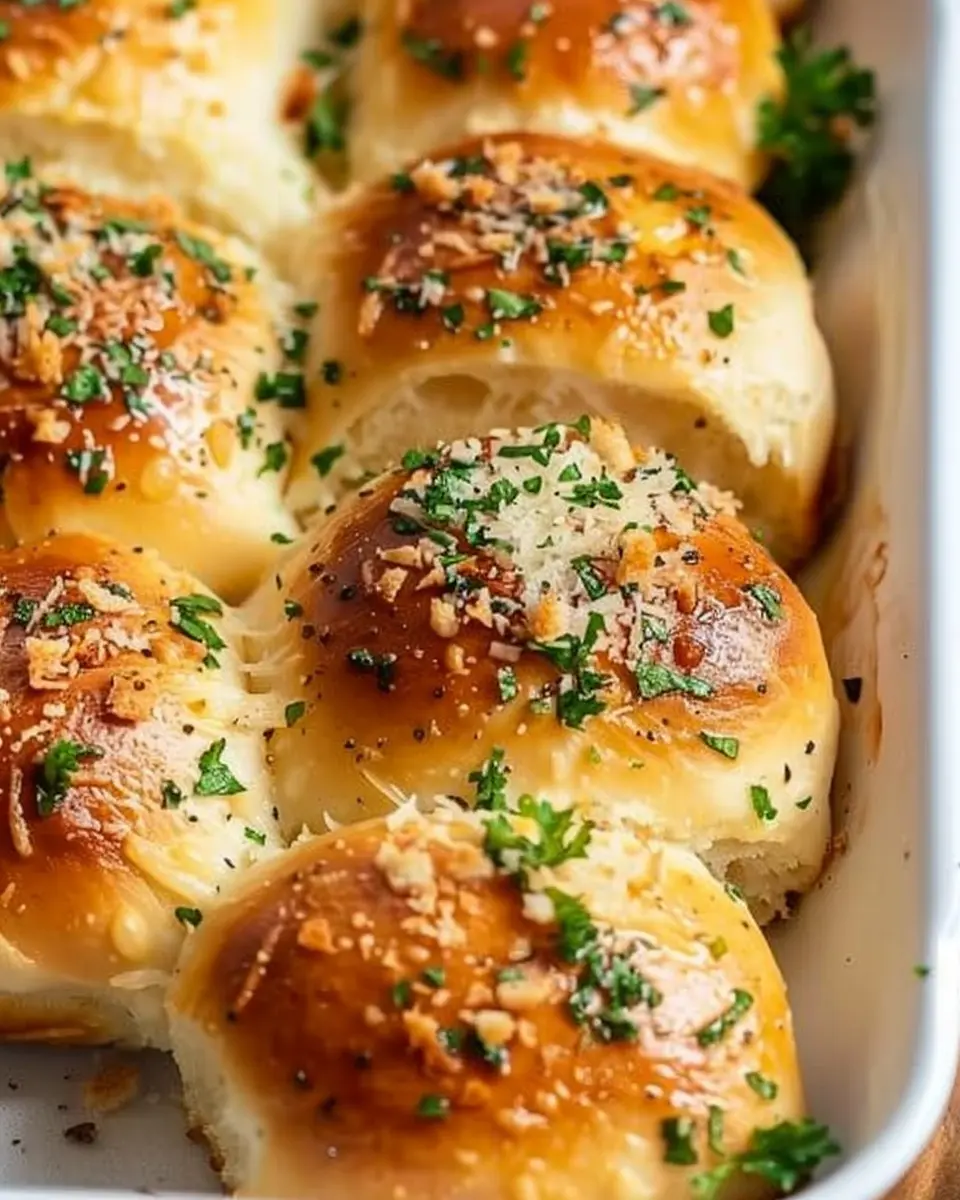
Bake and Brush with Garlic Butter
Once your rolls have risen and the oven is ready, it’s time to bake! Place your rolls in the oven and allow them to bake for about 15-20 minutes until they are golden brown. When they emerge from the oven, immediately brush them with your garlic butter. The melted butter will seep into the warm rolls, making every bite a heavenly experience.
And there you have it—your very own homemade Garlic Bread Rolls. Serve them warm with your favorite dishes, or enjoy them straight up as a snack. These rolls are sure to become a staple in your cooking repertoire! For more delicious recipes and tips, you might want to check out sources like Food Network or Serious Eats for inspiration. Happy baking!
Variations on Garlic Bread Rolls
Garlic bread rolls can be a delightful addition to any meal. But why stick to the classic when you can explore fun variations that add a twist to this favorite? Let’s dive into two exciting options that are sure to impress your friends and family!
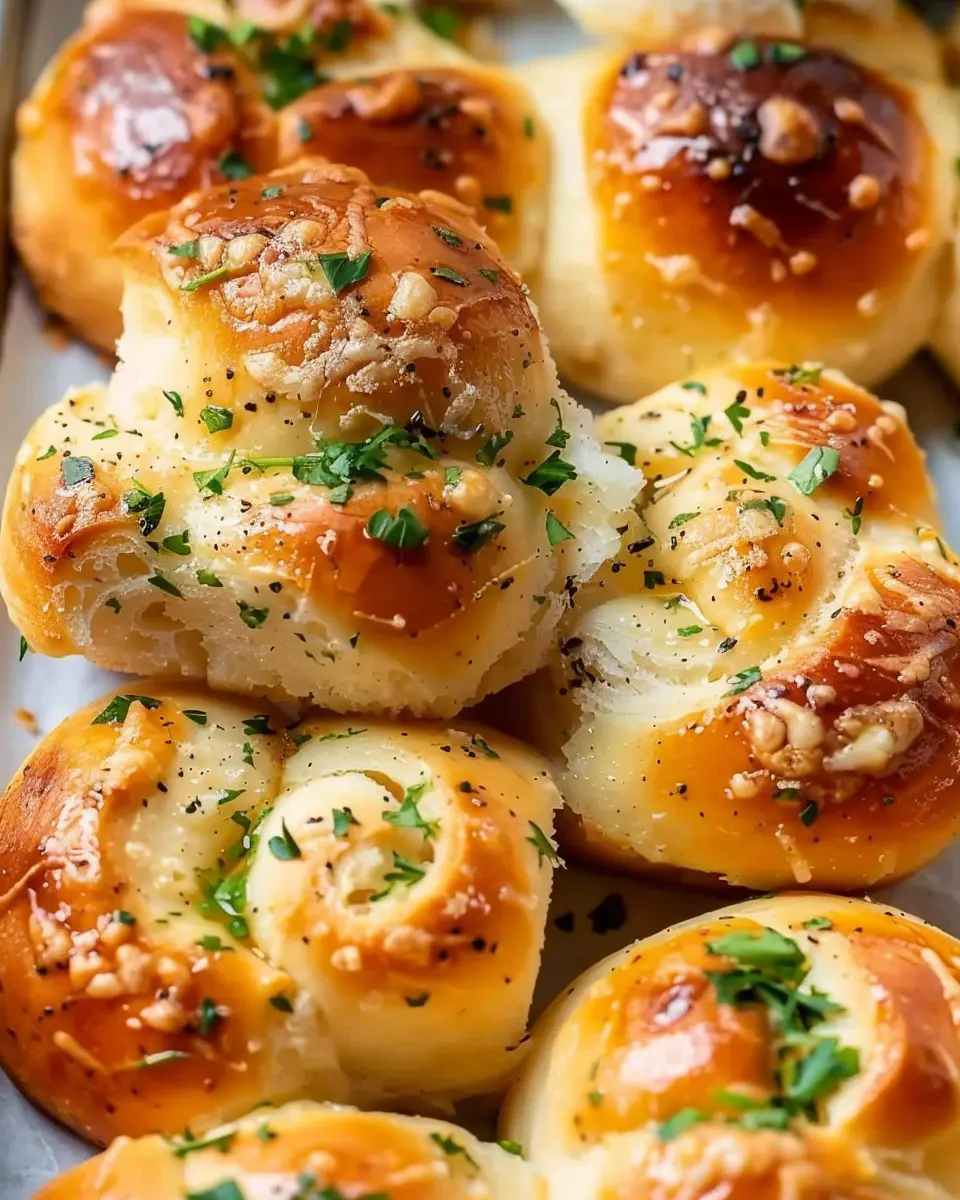
Cheese-Stuffed Garlic Bread Rolls
What’s better than the rich flavor of garlic bread rolls? How about adding a gooey, cheesy surprise in the center? To make these, simply:
- Prepare your basic garlic roll dough.
- Before shaping the rolls, take small cubes of your favorite cheese (mozzarella works wonderfully) and place them in the center.
- Seal the dough around the cheese, ensuring it’s well-hidden, then bake until golden.
When you bite into these rolls, the burst of cheese mingling with the garlic flavor is pure heaven. Plus, you can experiment with different cheeses like cheddar or pepper jack, making each batch uniquely yours. For inspiration, check out some cheese ideas at The Cheese Factor.
Herb-Infused Garlic Rolls
Inject a fresher, greener twist into your garlic bread rolls by infusing them with herbs. Fresh herbs like rosemary, thyme, or parsley elevate the flavor in a fantastic way. Here’s how to do it:
- While mixing your garlic butter, chop fresh herbs finely and blend them in.
- For an added touch, sprinkle some dried Italian herbs into the dough itself.
These rolls not only taste amazing but also bring a vibrant touch to your dinner table. The aromatic herbs awaken your senses and pair beautifully with soups or roasted dishes. Looking for more herb ideas? Check out Herb Garden Guide for inspiration.
Garlic bread rolls don’t have to be ordinary. With some creativity, you can unleash various flavors that cater to everyone’s taste. Enjoy your culinary journey!
Baking Tips for Garlic Bread Rolls
Tips for a perfect rise
Getting those Garlic Bread Rolls to rise perfectly is key to achieving that soft, fluffy texture you crave. Start with warm water (around 100°F) to activate your yeast—too hot, and it can kill the yeast, while too cold slows it down. Let your dough rest in a warm, draft-free area, such as an oven with just the light on. Cover it with a damp cloth to keep moisture in. Did you know that ideally, dough should double in size? This could take about 1-2 hours depending on the temperature.
Common dough mistakes to avoid
Even experienced bakers have their off days. Watch out for these common pitfalls to ensure your Garlic Bread Rolls come out perfect:
- Using expired yeast: Always check the date—fresh yeast is your best friend.
- Skipping the kneading: Kneading develops gluten, which gives the rolls their structure.
- Not measuring ingredients accurately: A kitchen scale can be a game-changer.
For more baking tips, check out resources like King Arthur Baking and The Spruce Eats. Happy baking!
Serving Suggestions for Garlic Bread Rolls
Pairing with Pasta Dishes
Garlic Bread Rolls are a fantastic companion to a variety of pasta dishes, adding a delightful crunch and aromatic flavor to your meal. Whether you’re serving a creamy fettuccine Alfredo or a hearty marinara, these rolls are sure to elevate your dining experience. Try them alongside a classic spaghetti Bolognese or a zesty penne arrabbiata for a balanced texture and taste explosion. Serve a side of fresh basil or parsley to sprinkle on top for an extra burst of freshness.
Ideal for Soups and Stews
Not just for pasta, Garlic Bread Rolls also pair beautifully with soups and stews. Their fluffy interiors soak up broths and sauces, making every bite deliciously satisfying. Picture a warm bowl of tomato bisque or chicken noodle soup—dipping a roll into those savory liquids creates a comforting experience that you won’t forget. The buttery garlic flavor complements hearty lentil or vegetable soups perfectly, making your meal feel complete.
For more inspiration, check out this easy soup recipe or this delicious stew option. With Garlic Bread Rolls, every meal can feel like a special occasion!
Time details for Garlic Bread Rolls
Understanding the timing involved in your Garlic Bread Rolls recipe can make all the difference when preparing for your next gathering or cozy dinner. Let’s break it down.
Preparation time
Getting started is a breeze! The preparation time for your Garlic Bread Rolls is around 15 minutes. This includes mixing the ingredients and shaping the dough.
Rising time
Patience pays off here, with a rising time of approximately 1 hour. This allows your dough to develop that light, airy texture we all love in rolls.
Baking time
Once risen, pop those rolls in the oven for about 20 minutes. You’ll want a lovely golden brown on top for that irresistible crunch.
Total time
So, when you add it all up, the total time comes to around 1 hour and 35 minutes. This includes prep, rising, and baking, giving you a delicious snack without the fuss!
For more tips on perfecting your rolls, check out King Arthur Baking for expert insights!
Nutritional Information for Garlic Bread Rolls
When indulging in Garlic Bread Rolls, it’s good to know what you’re treating yourself to. Each roll contains roughly 150 calories, making them a delightful addition to any meal without tipping the scales too much.
Calories per Roll
- Approximately 150 calories per Garlic Bread Roll
Key Nutrients
These rolls are not just tasty; they also pack a nutritional punch. Here’s a quick look at some key nutrients:
- Carbohydrates: Essential for energy, each roll contributes about 28 grams.
- Fats: With around 5 grams of fat, they provide a bit of richness, thanks to the garlic butter spread.
- Protein: Although not a protein powerhouse, you still get about 4 grams per roll, ideal for a balanced snack.
- Vitamins and Minerals: Rich in beneficial vitamins, including Vitamin C from the garlic, known for its immune-boosting properties.
If you’re interested in more detailed nutritional insights or have specific dietary needs, considering consulting resources like the USDA FoodData Central or the nutritional databases on healthline.com can be helpful for personalized guidance. Enjoy indulging your taste buds while nourishing your body!
FAQs about Garlic Bread Rolls
Can I make garlic bread rolls in advance?
Absolutely! Making garlic bread rolls in advance is a fantastic idea, especially for gatherings or busy weeknights. You can prepare the dough and let it rise, then shape the rolls and refrigerate them overnight. When you’re ready to bake, just pop them in the oven after letting them rest at room temperature for about 30 minutes. This method helps you enjoy fresh rolls without the fuss on the day of serving.
What can I substitute for yeast?
If you’ve found yourself without yeast, don’t worry—there are alternatives! You can use baking powder as a leavening agent in your garlic bread rolls. For every cup of flour, use about 1 tablespoon of baking powder. Keep in mind that this substitution works best for quick versions and may slightly alter the texture compared to traditional yeast rolls. For a more in-depth guide on yeast substitutes, check out resources like Serious Eats.
How to store leftover garlic bread rolls?
If you happen to have any garlic bread rolls left over – though that’s rare when friends are around – store them properly to keep them fresh. Allow the rolls to cool completely before placing them in an airtight container. They can be stored at room temperature for up to two days or in the fridge for about a week. For longer storage, consider freezing them. Just wrap each roll tightly in plastic wrap and place them in a freezer bag. When you’re ready to eat, simply thaw and reheat in the oven for that delightful crispiness!
With these helpful tips, you’ll never have to second-guess your baking adventures again. Enjoy your delicious garlic bread rolls!
Conclusion on Garlic Bread Rolls
In conclusion, Garlic Bread Rolls are more than just a side dish; they are an experience. Their warm, savory aroma fills your kitchen, making your home feel cozy and inviting. Perfect for any gathering, these rolls complement everything from pasta dishes to soups, leaving your guests asking for seconds.
If you’ve enjoyed this recipe, why not experiment with different toppings or fillings? You could add herbs or cheese for an extra twist! For more inspiration, check out resources like Bon Appétit and Serious Eats for culinary tips. Happy baking!
PrintGarlic Bread Rolls: The Best Homemade Treat for All Occasions
These Garlic Bread Rolls are a delightful homemade treat, perfect for any occasion.
- Prep Time: 15 minutes
- Cook Time: 20 minutes
- Total Time: 1 hour 35 minutes
- Yield: 12 rolls 1x
- Category: Bread
- Method: Baking
- Cuisine: Italian
- Diet: Vegetarian
Ingredients
- 4 cups all-purpose flour
- 1 packet active dry yeast
- 1 teaspoon salt
- 1 teaspoon sugar
- 1/4 cup butter, softened
- 2 cups warm water
- 4 cloves garlic, minced
- 1/4 cup fresh parsley, chopped
Instructions
- In a large bowl, combine warm water, sugar, and yeast. Let it sit until frothy.
- Add flour, salt, butter, garlic, and parsley. Mix until a dough forms.
- Knead the dough on a floured surface for 10 minutes until smooth.
- Place the dough in a greased bowl, cover, and let rise for 1 hour.
- Preheat the oven to 375°F (190°C).
- Shape the dough into rolls and place them on a baking sheet.
- Let the rolls rise for an additional 30 minutes.
- Bake for 15-20 minutes or until golden brown.
- Brush with melted butter before serving.
Notes
- For a cheesy version, add shredded mozzarella on top before baking.
- These rolls can be enjoyed warm or at room temperature.
Nutrition
- Serving Size: 1 roll
- Calories: 180
- Sugar: 1g
- Sodium: 180mg
- Fat: 7g
- Saturated Fat: 4g
- Unsaturated Fat: 2g
- Trans Fat: 0g
- Carbohydrates: 26g
- Fiber: 1g
- Protein: 4g
- Cholesterol: 15mg
Keywords: Garlic Bread Rolls